
The "Contacts" section in Chatwoot serves as a database of end-users or customers with whom you have interacted via the Chatwoot widget. You can also upload contacts manually.
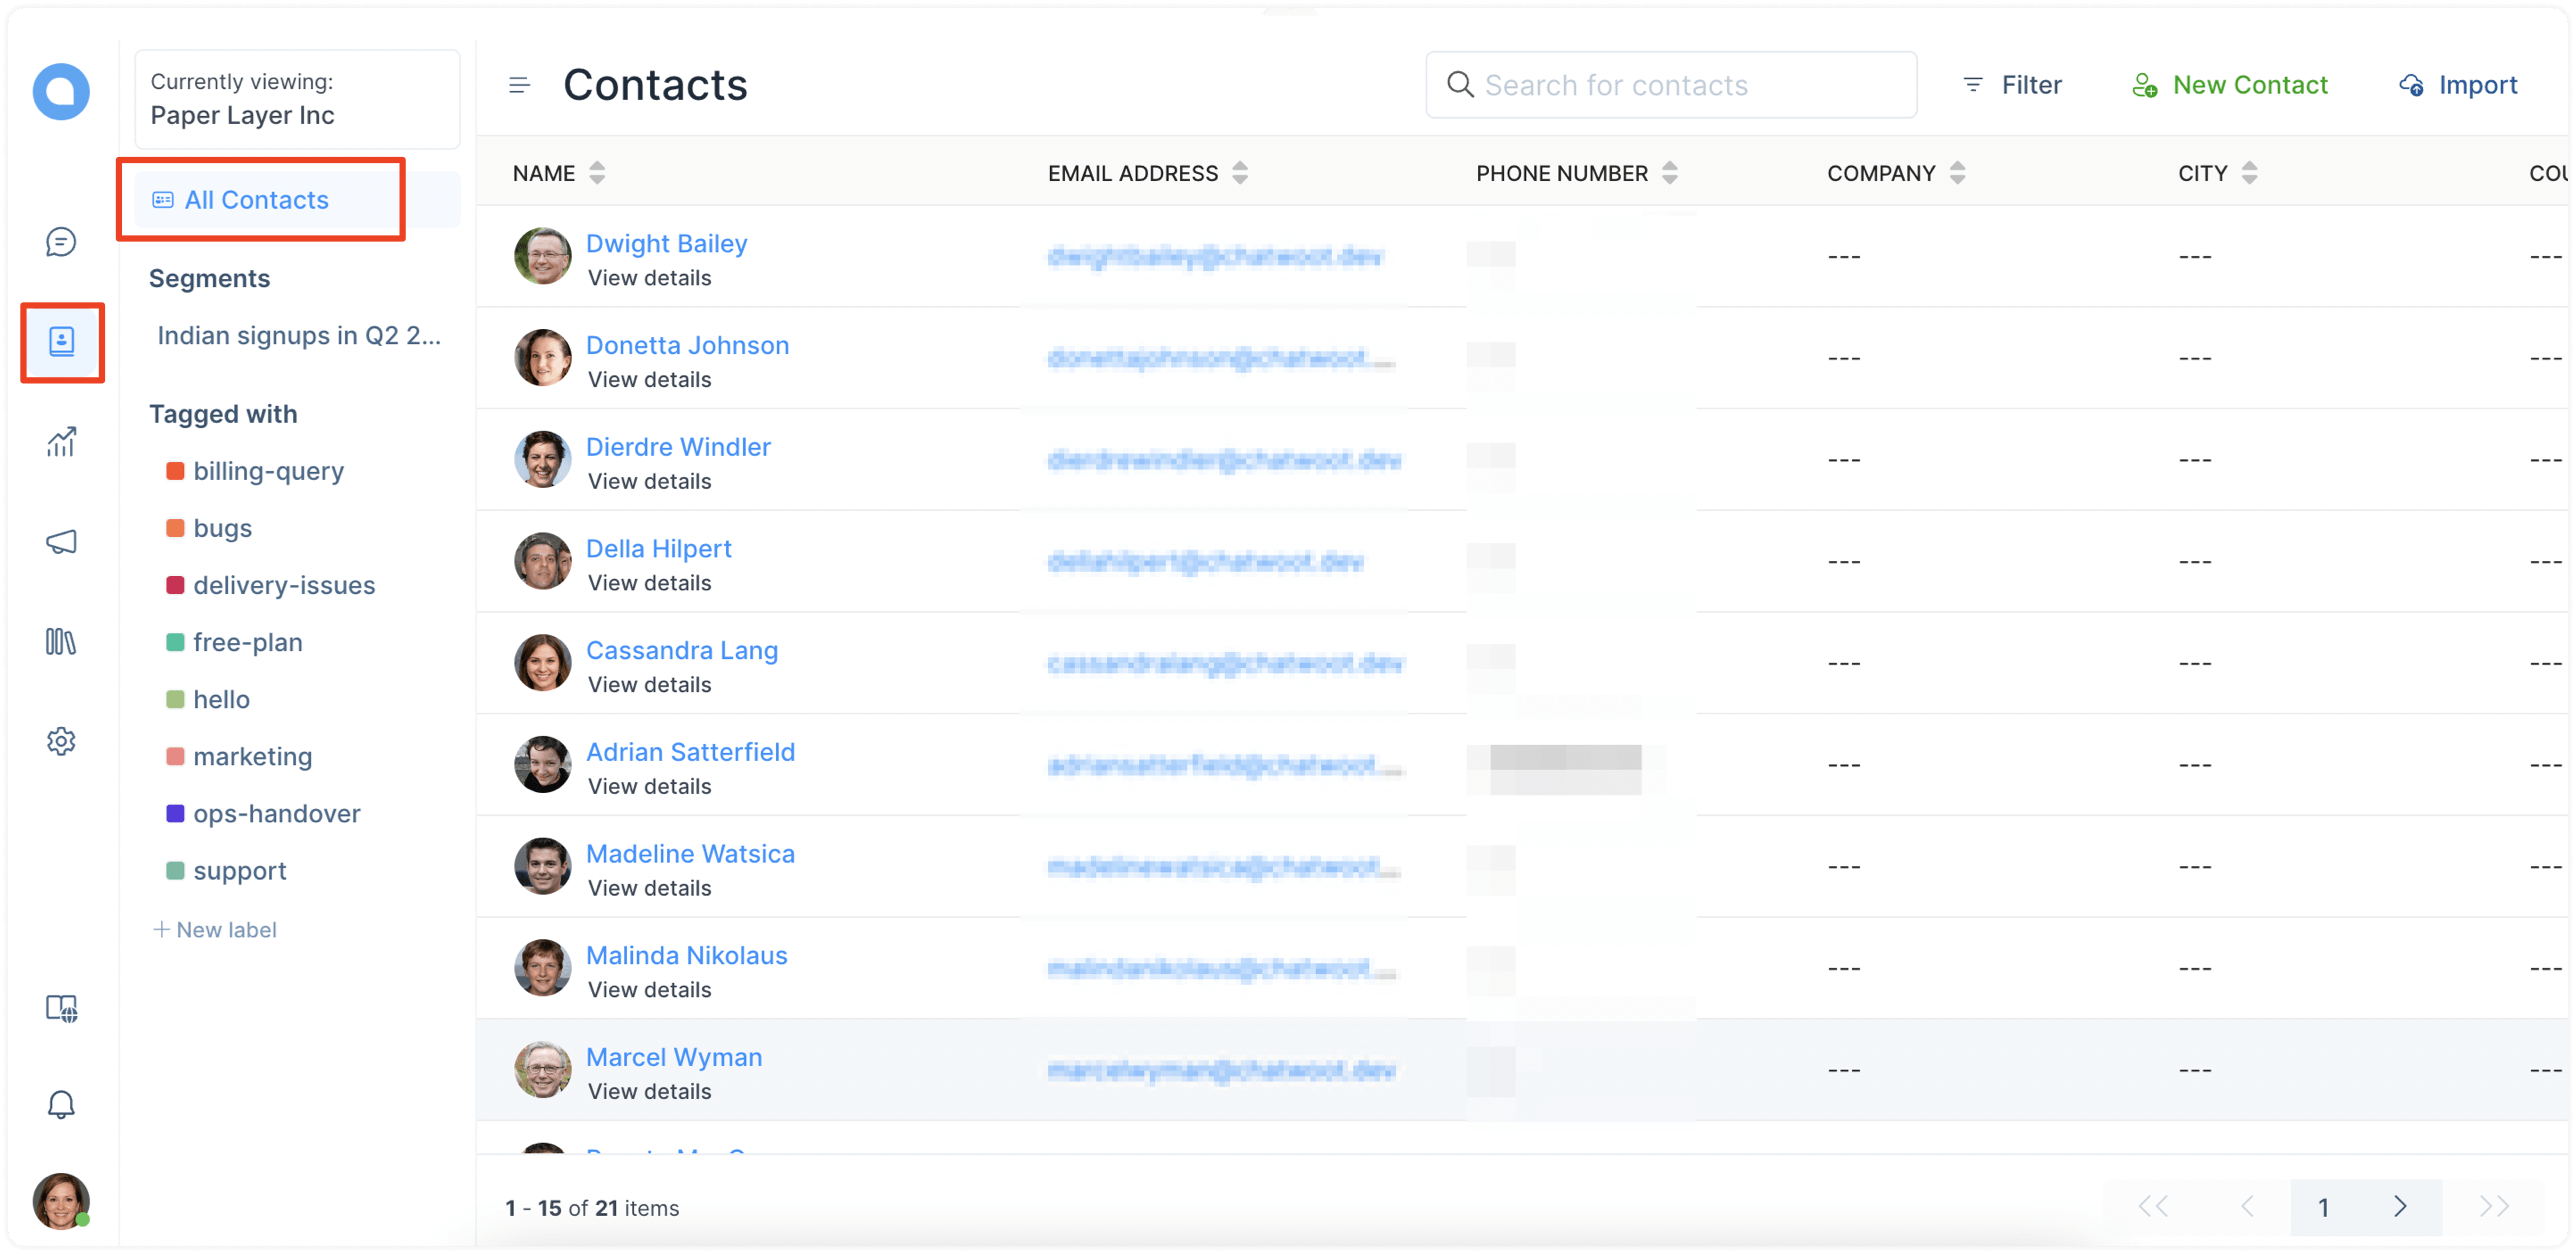
To view the Contacts screen, click on the “Contacts” tab from the left-sidebar of your dashboard. This is what a typical contacts screen looks like:
How to add contacts?
Contacts can be added to the list in 3 ways, as explained in the following sections.
Manual upload
You can manually upload contacts to your Chatwoot customer database in two ways.
-
Add a single contact
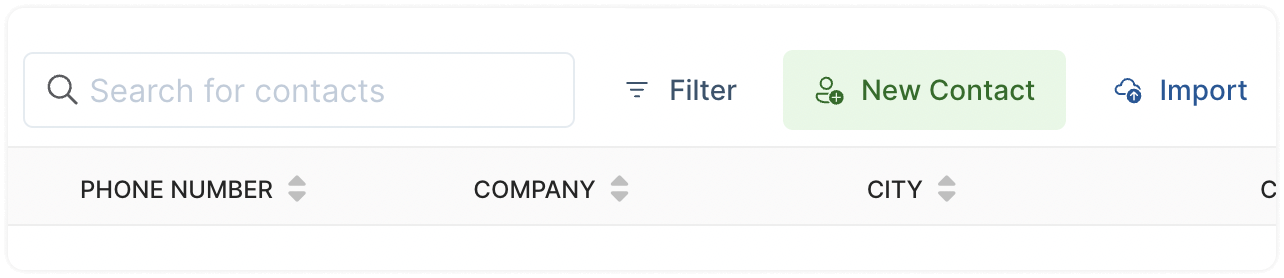
Step 1. On the Contacts screen, click on the “New Contact” button from the top-right corner.
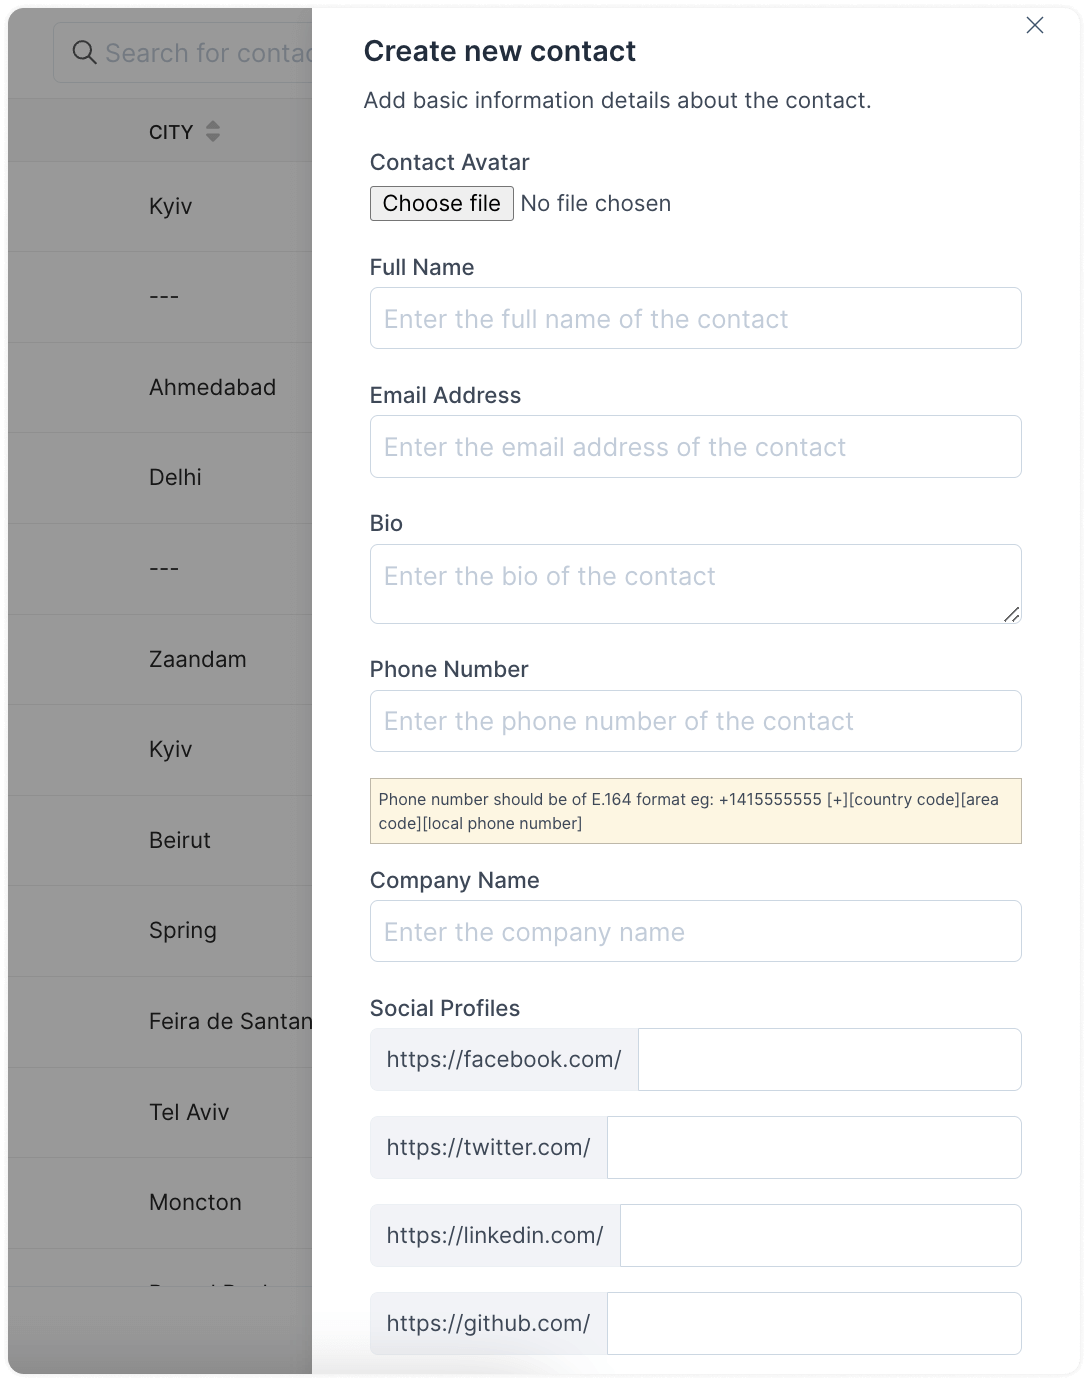
Step 2. Start filling the contact details available with you. Click on “Submit”.
-
Import a database of contacts
Step 1. On the Contacts screen, click on the “Import” button from the top-right corner.

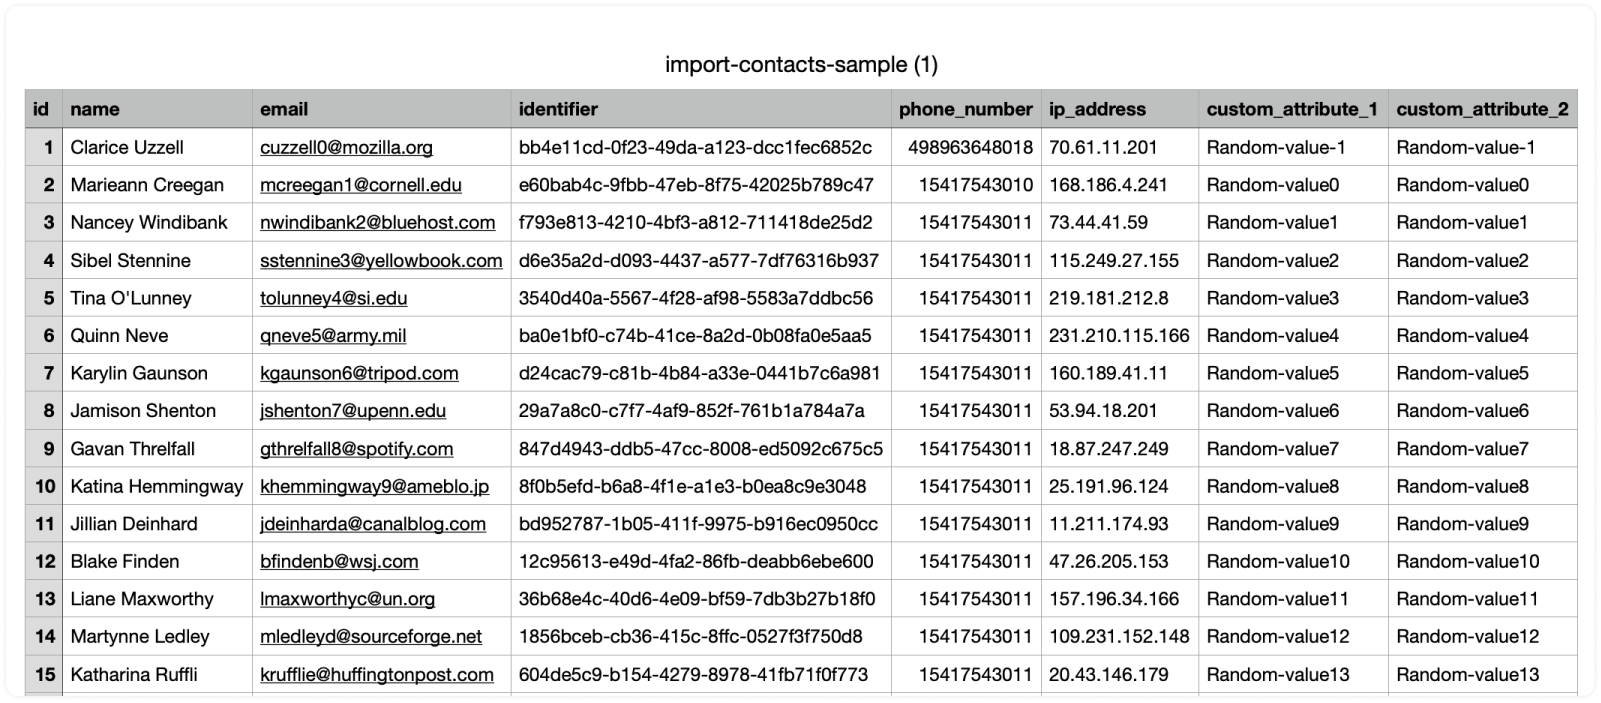
Step 2. Choose a CSV file from your system to upload it to the Chatwoot database. This is what a sample database looks like:
Pre-chat forms
If you have a pre-chat form enabled, every time a customer gives their email and other details through it, Chatwoot will save them as a new contact.
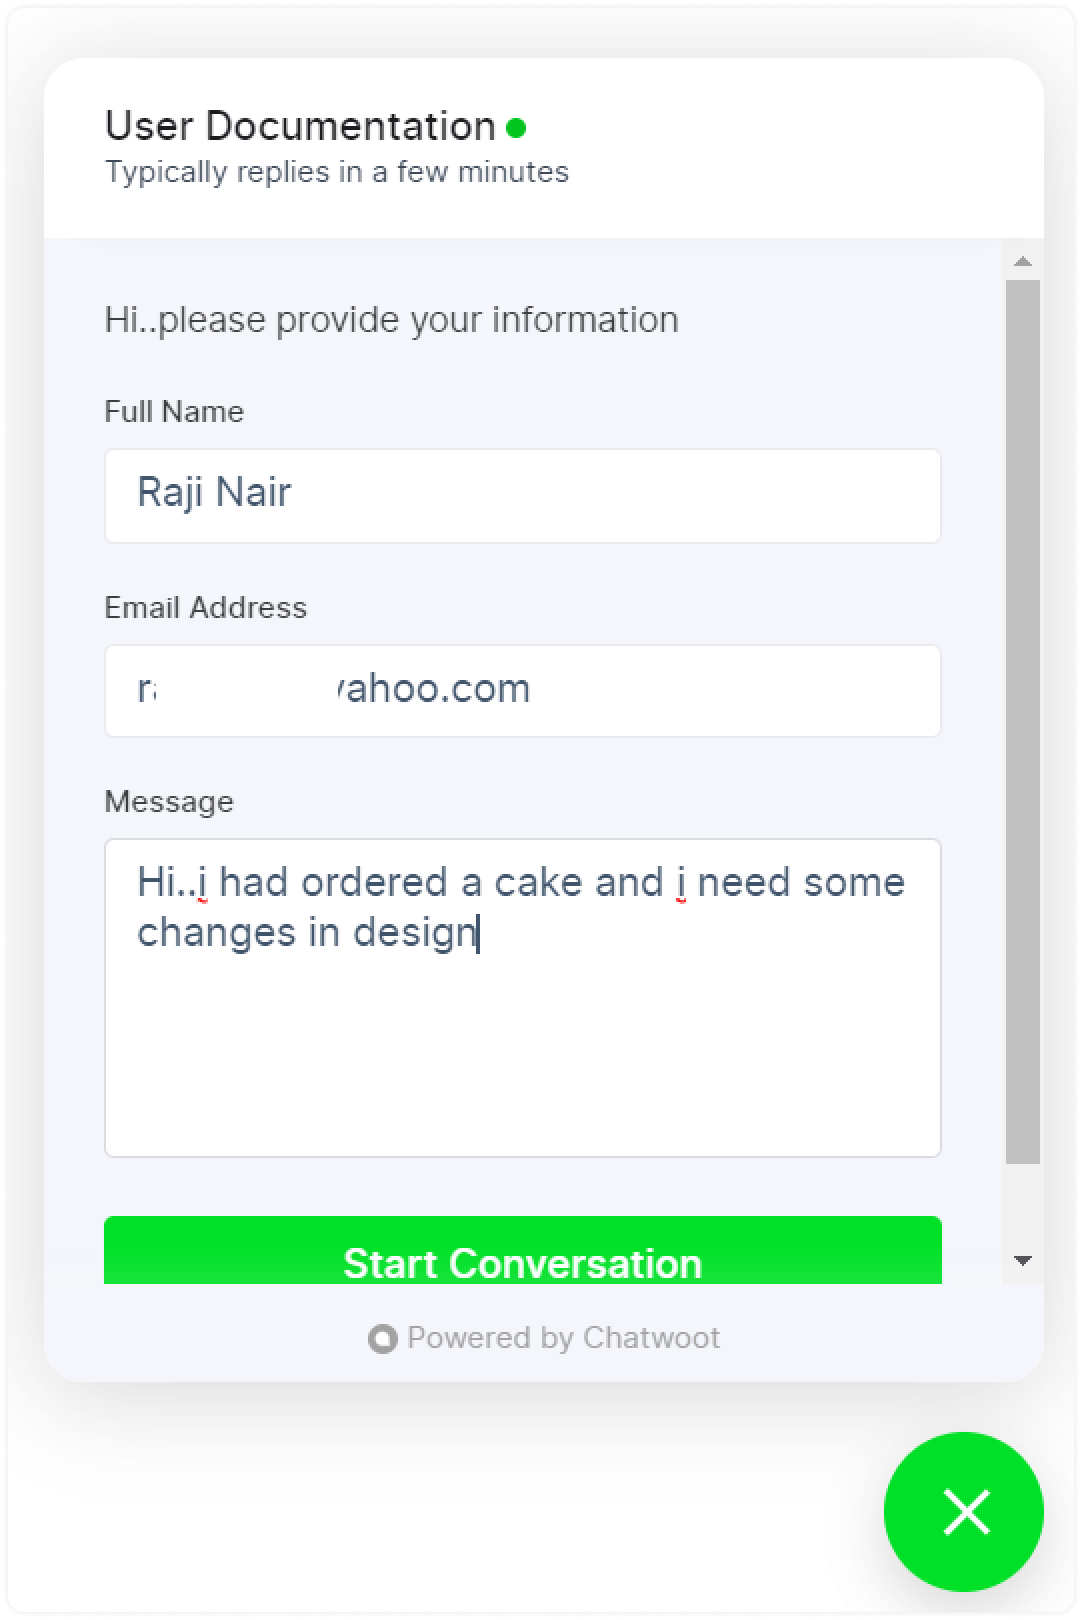
In the example shared above, Raji Nair will be autosaved as a contact when she fills the pre-chat form.
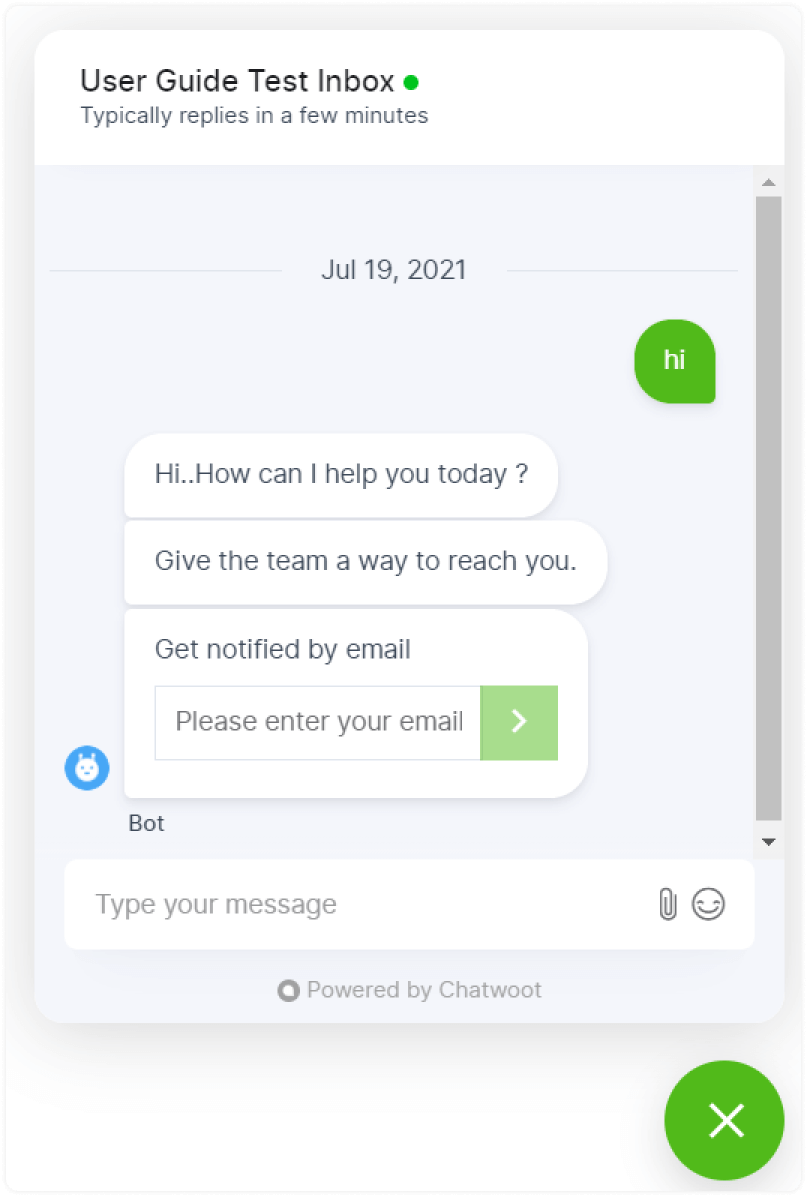
Channel greeting
Whenever a customer enters their email ID in the channel greeting message, it will be autosaved as a contact.
Contacts grouped by labels
You can filter your contacts by labels. Simply select a label from your list of “Tagged with”, as shown below.

Sorting contacts
To arrange your contacts, click the icon with two arrows in any column.

The following explains the logic behind the sorting of each column’s label.
-
Sorting by name: Sorts the list alphabetically.
-
Sorting by email: Sorts the list alphabetically.
-
Sorting by phone number: Orders the list in numerical order.
-
Sorting by company name: Sorts the list alphabetically.
-
Sorting by city: Sorts the list alphabetically.
-
Sorting by country: Sorts the list alphabetically.
-
Sorting by last activity: Sorts the list chronologically.
Contact actions
You can perform specific actions on a contact. To view these actions, click on the name of a contact. It will open a sidebar with the details of that contact and associated actions, as illustrated in the screenshot below.
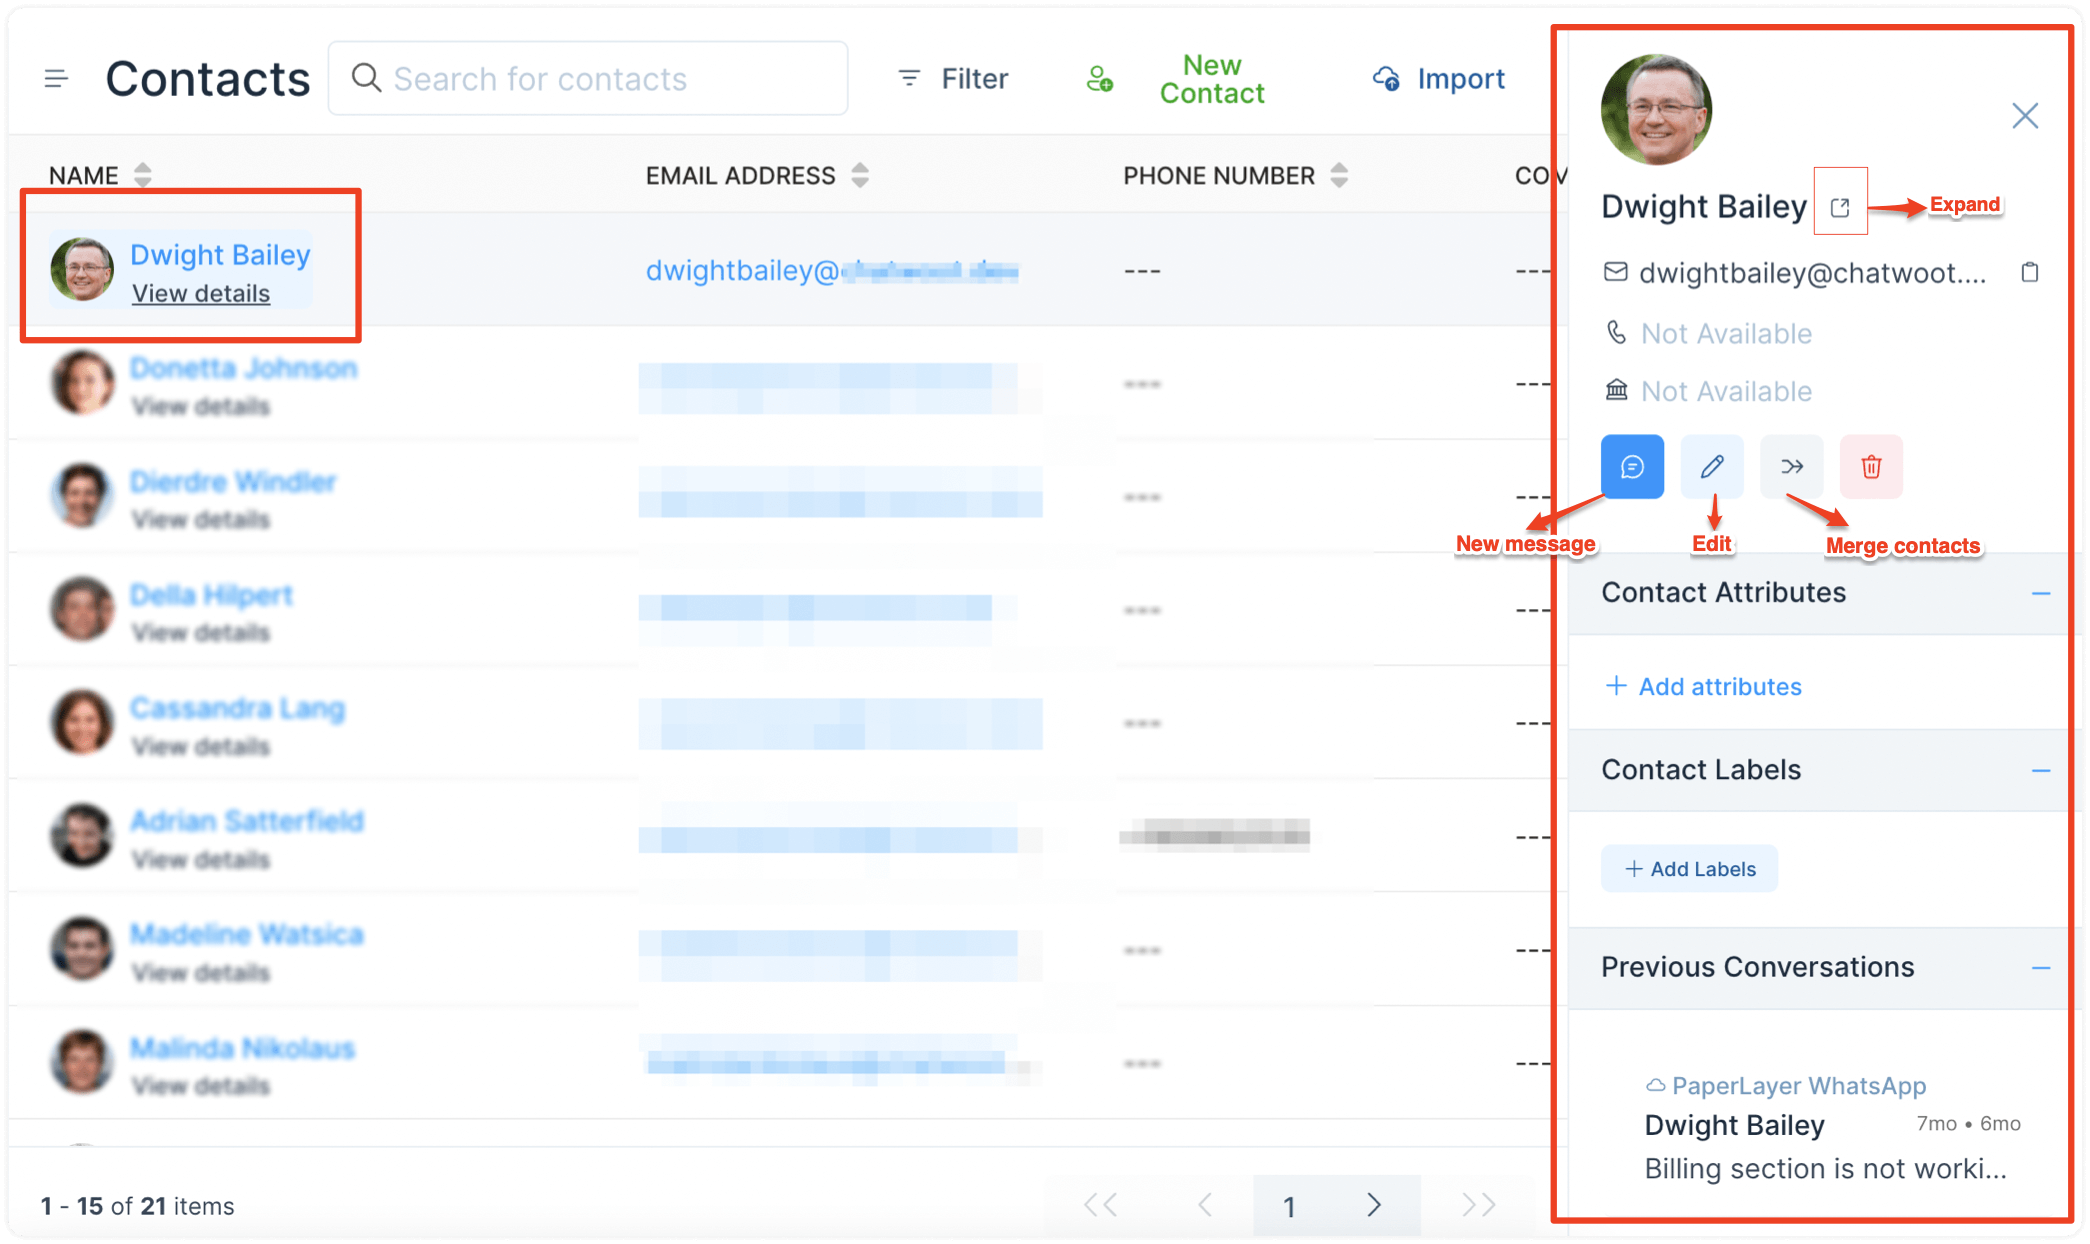
Action – Send a new message
You can send outbound messages to a contact using the “New message” button as illustrated in the screenshot above.
You can send outbound messages from your contact page to the following conversation channels.
-
Website (only to HMAC identified contacts)
-
Email
-
SMS
-
WhatsApp
Contact Notes
You can add notes and important information to a specific contact. You can use this to manually log a call, email, or meeting with the customer.
To add notes:
-
Click on Contacts menu item from the Chatwoot Dashboard.
-
Select a Contact from the list. (Click on the contact name)
-
Write down your note.
-
Click the "Add" button or press
Cmd + Enter. Visit the individual contact page.
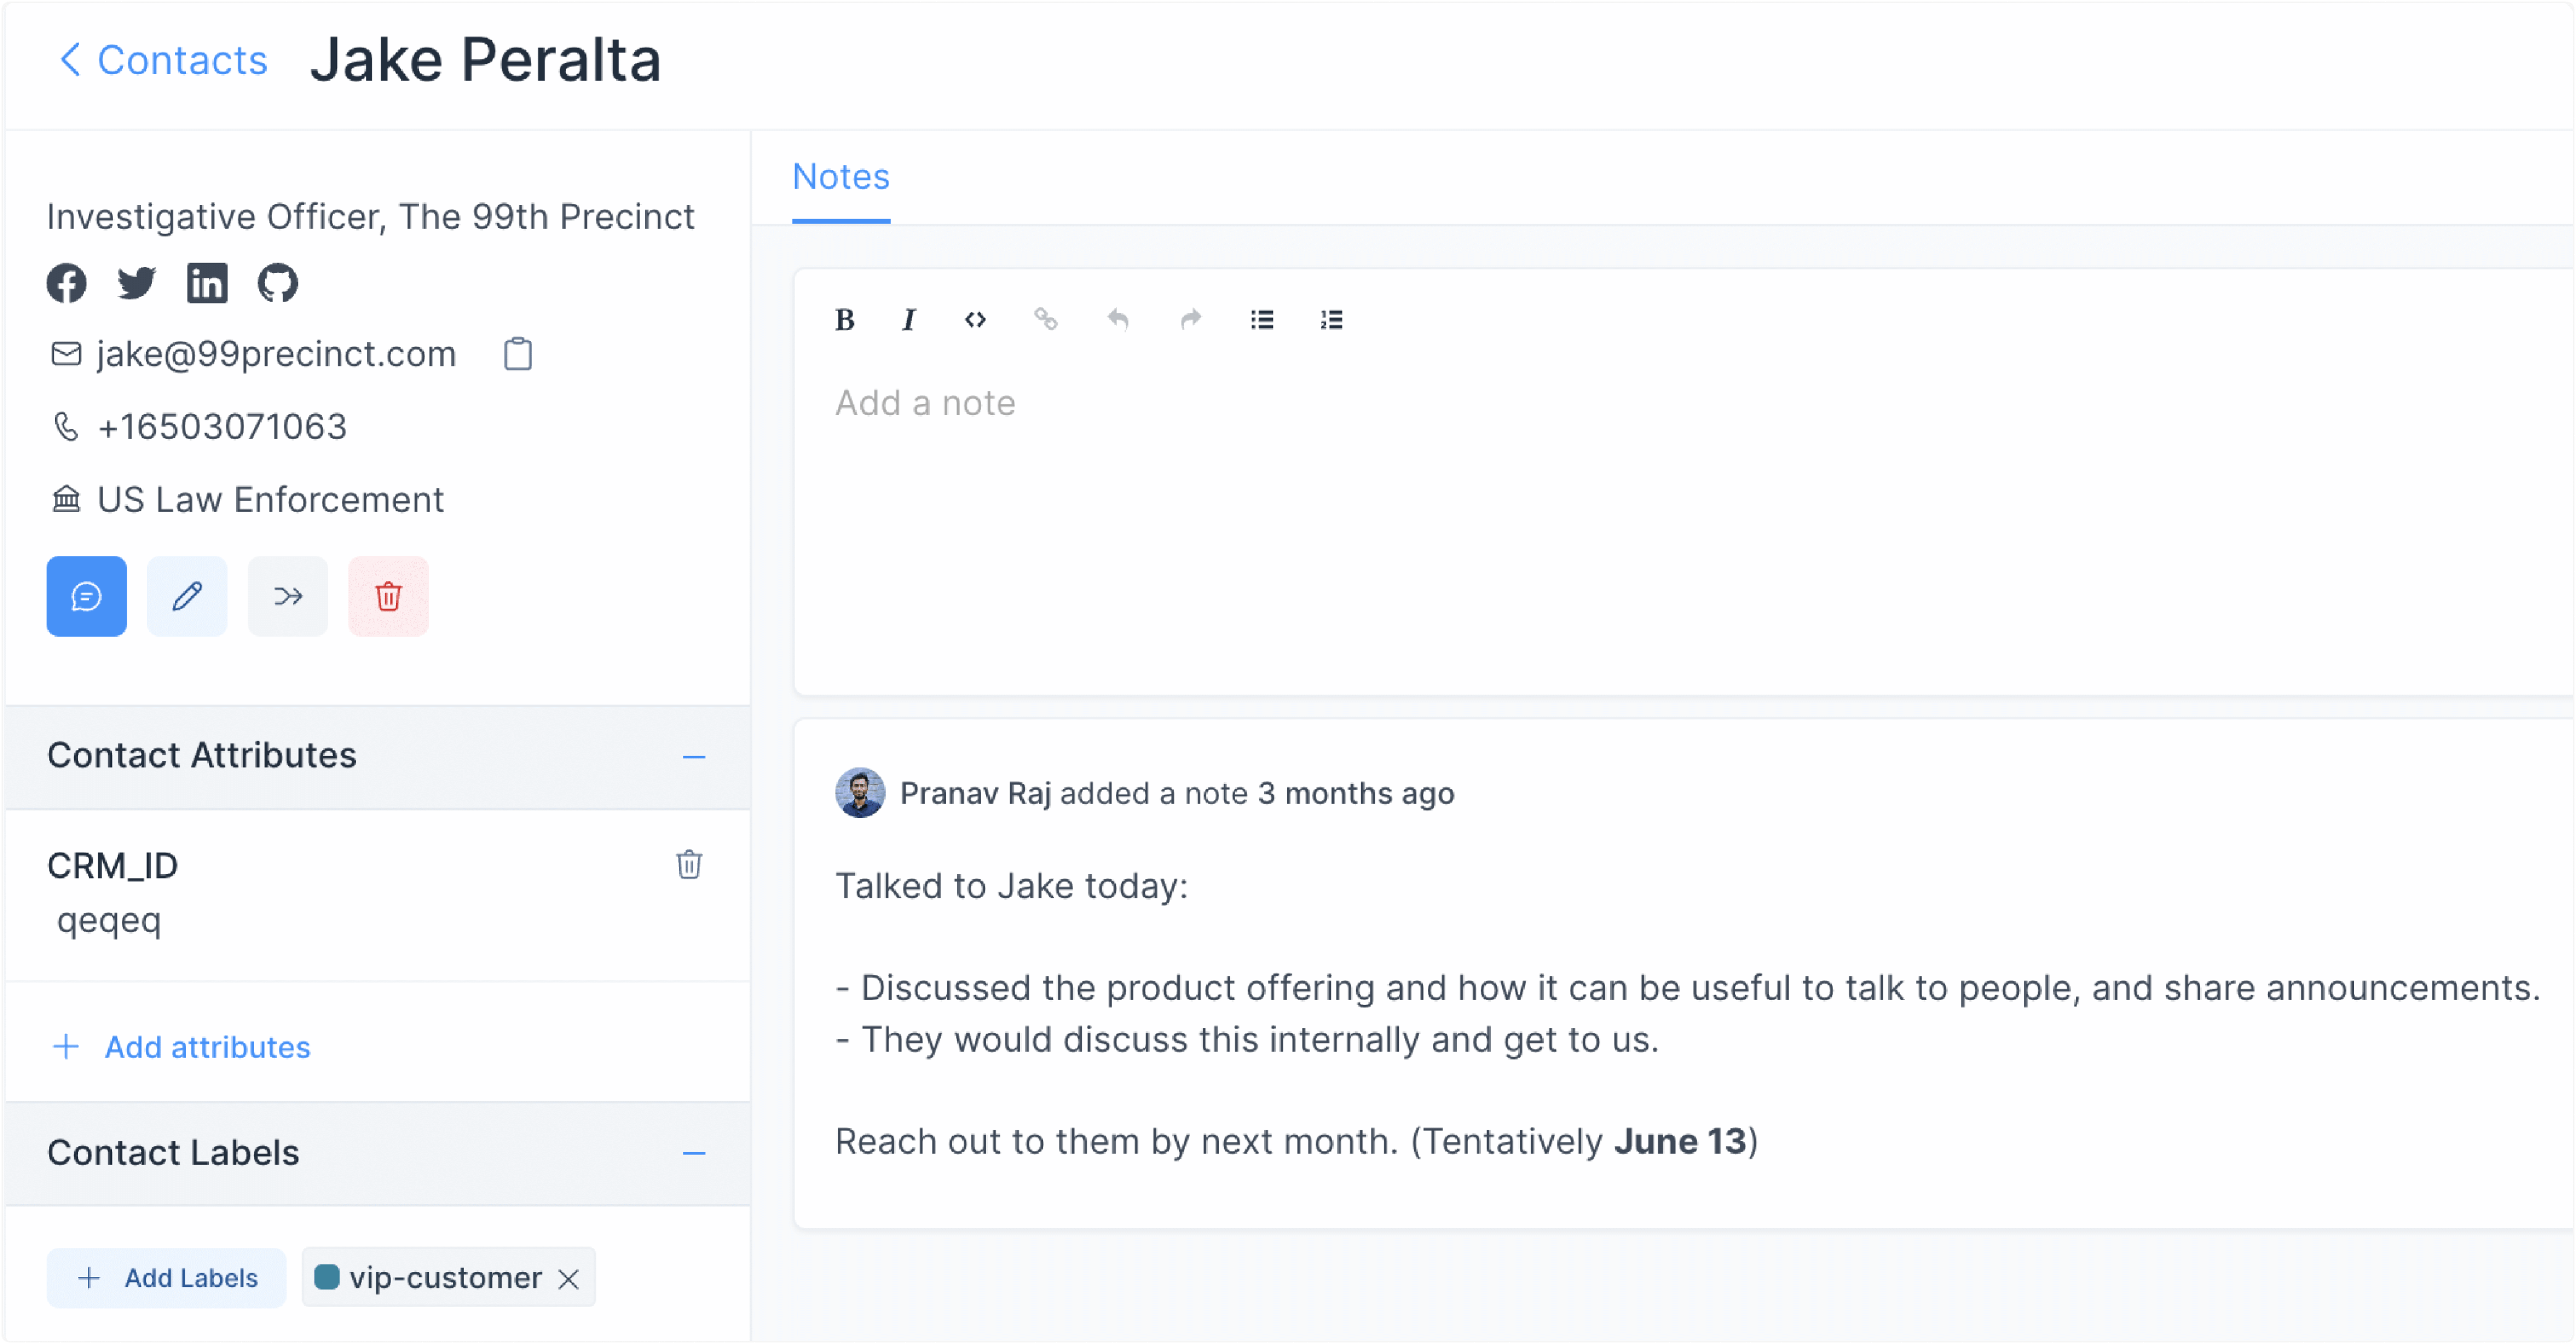
You can also use rich text formatting on your notes and delete them as required.
Filtering Contacts
Use filters to group your contacts and categorize data. To start filtering contacts, follow the steps described below.
Step 1. Click on the “Filter” button from the top of your contacts screen.

Step 2. Select a filter from the dropdown and select “Equal to” or “Not equal to” as applicable.
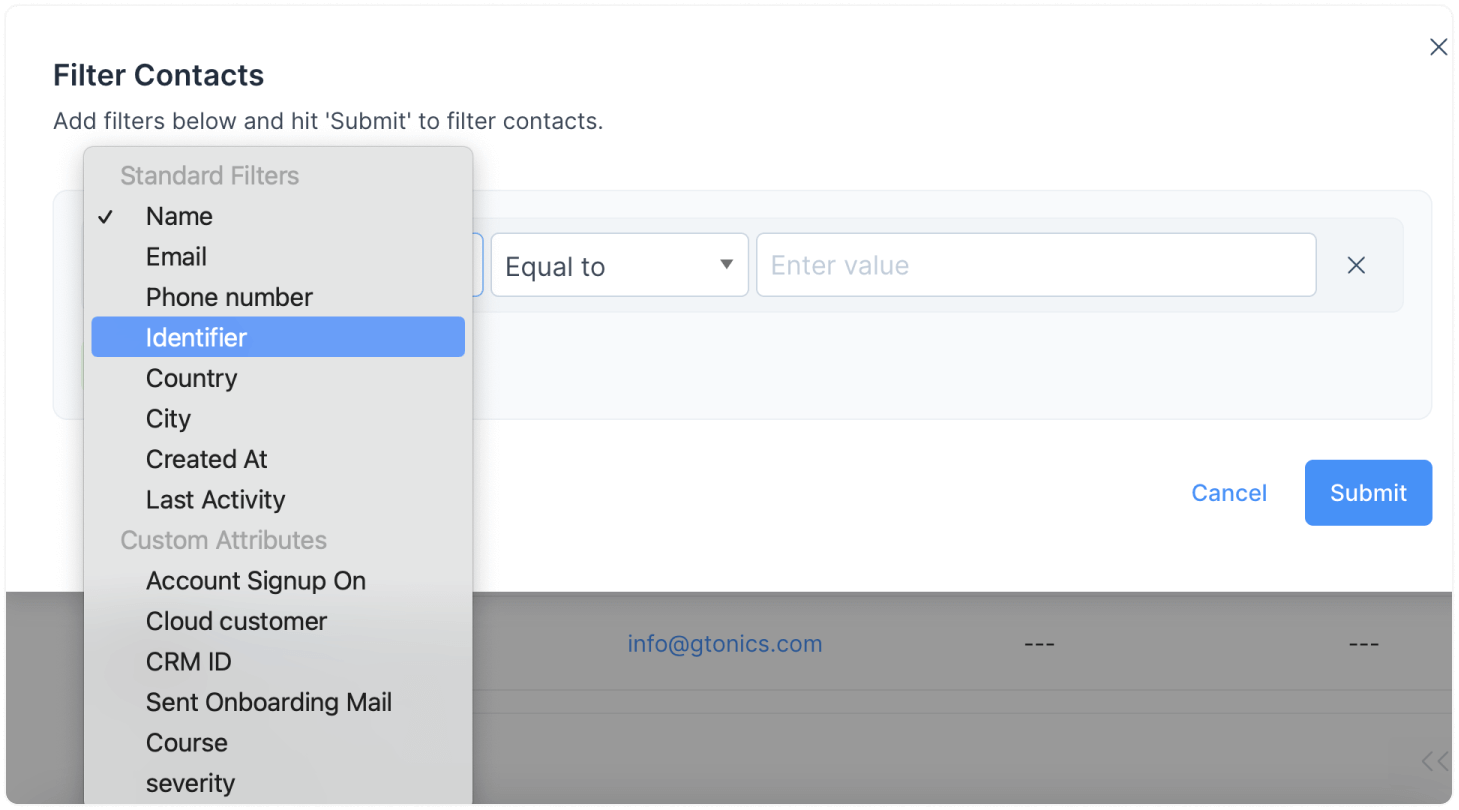
You can apply advanced filters to your contacts. The following filters are available:
-
Contact Name
-
Contact Email
-
Phone number
-
Contact Identifier
-
Country
-
City
-
Created at
-
Last activity
-
Custom attributes added to your account
Step 3. Add more filters using AND / OR operators if you need to.
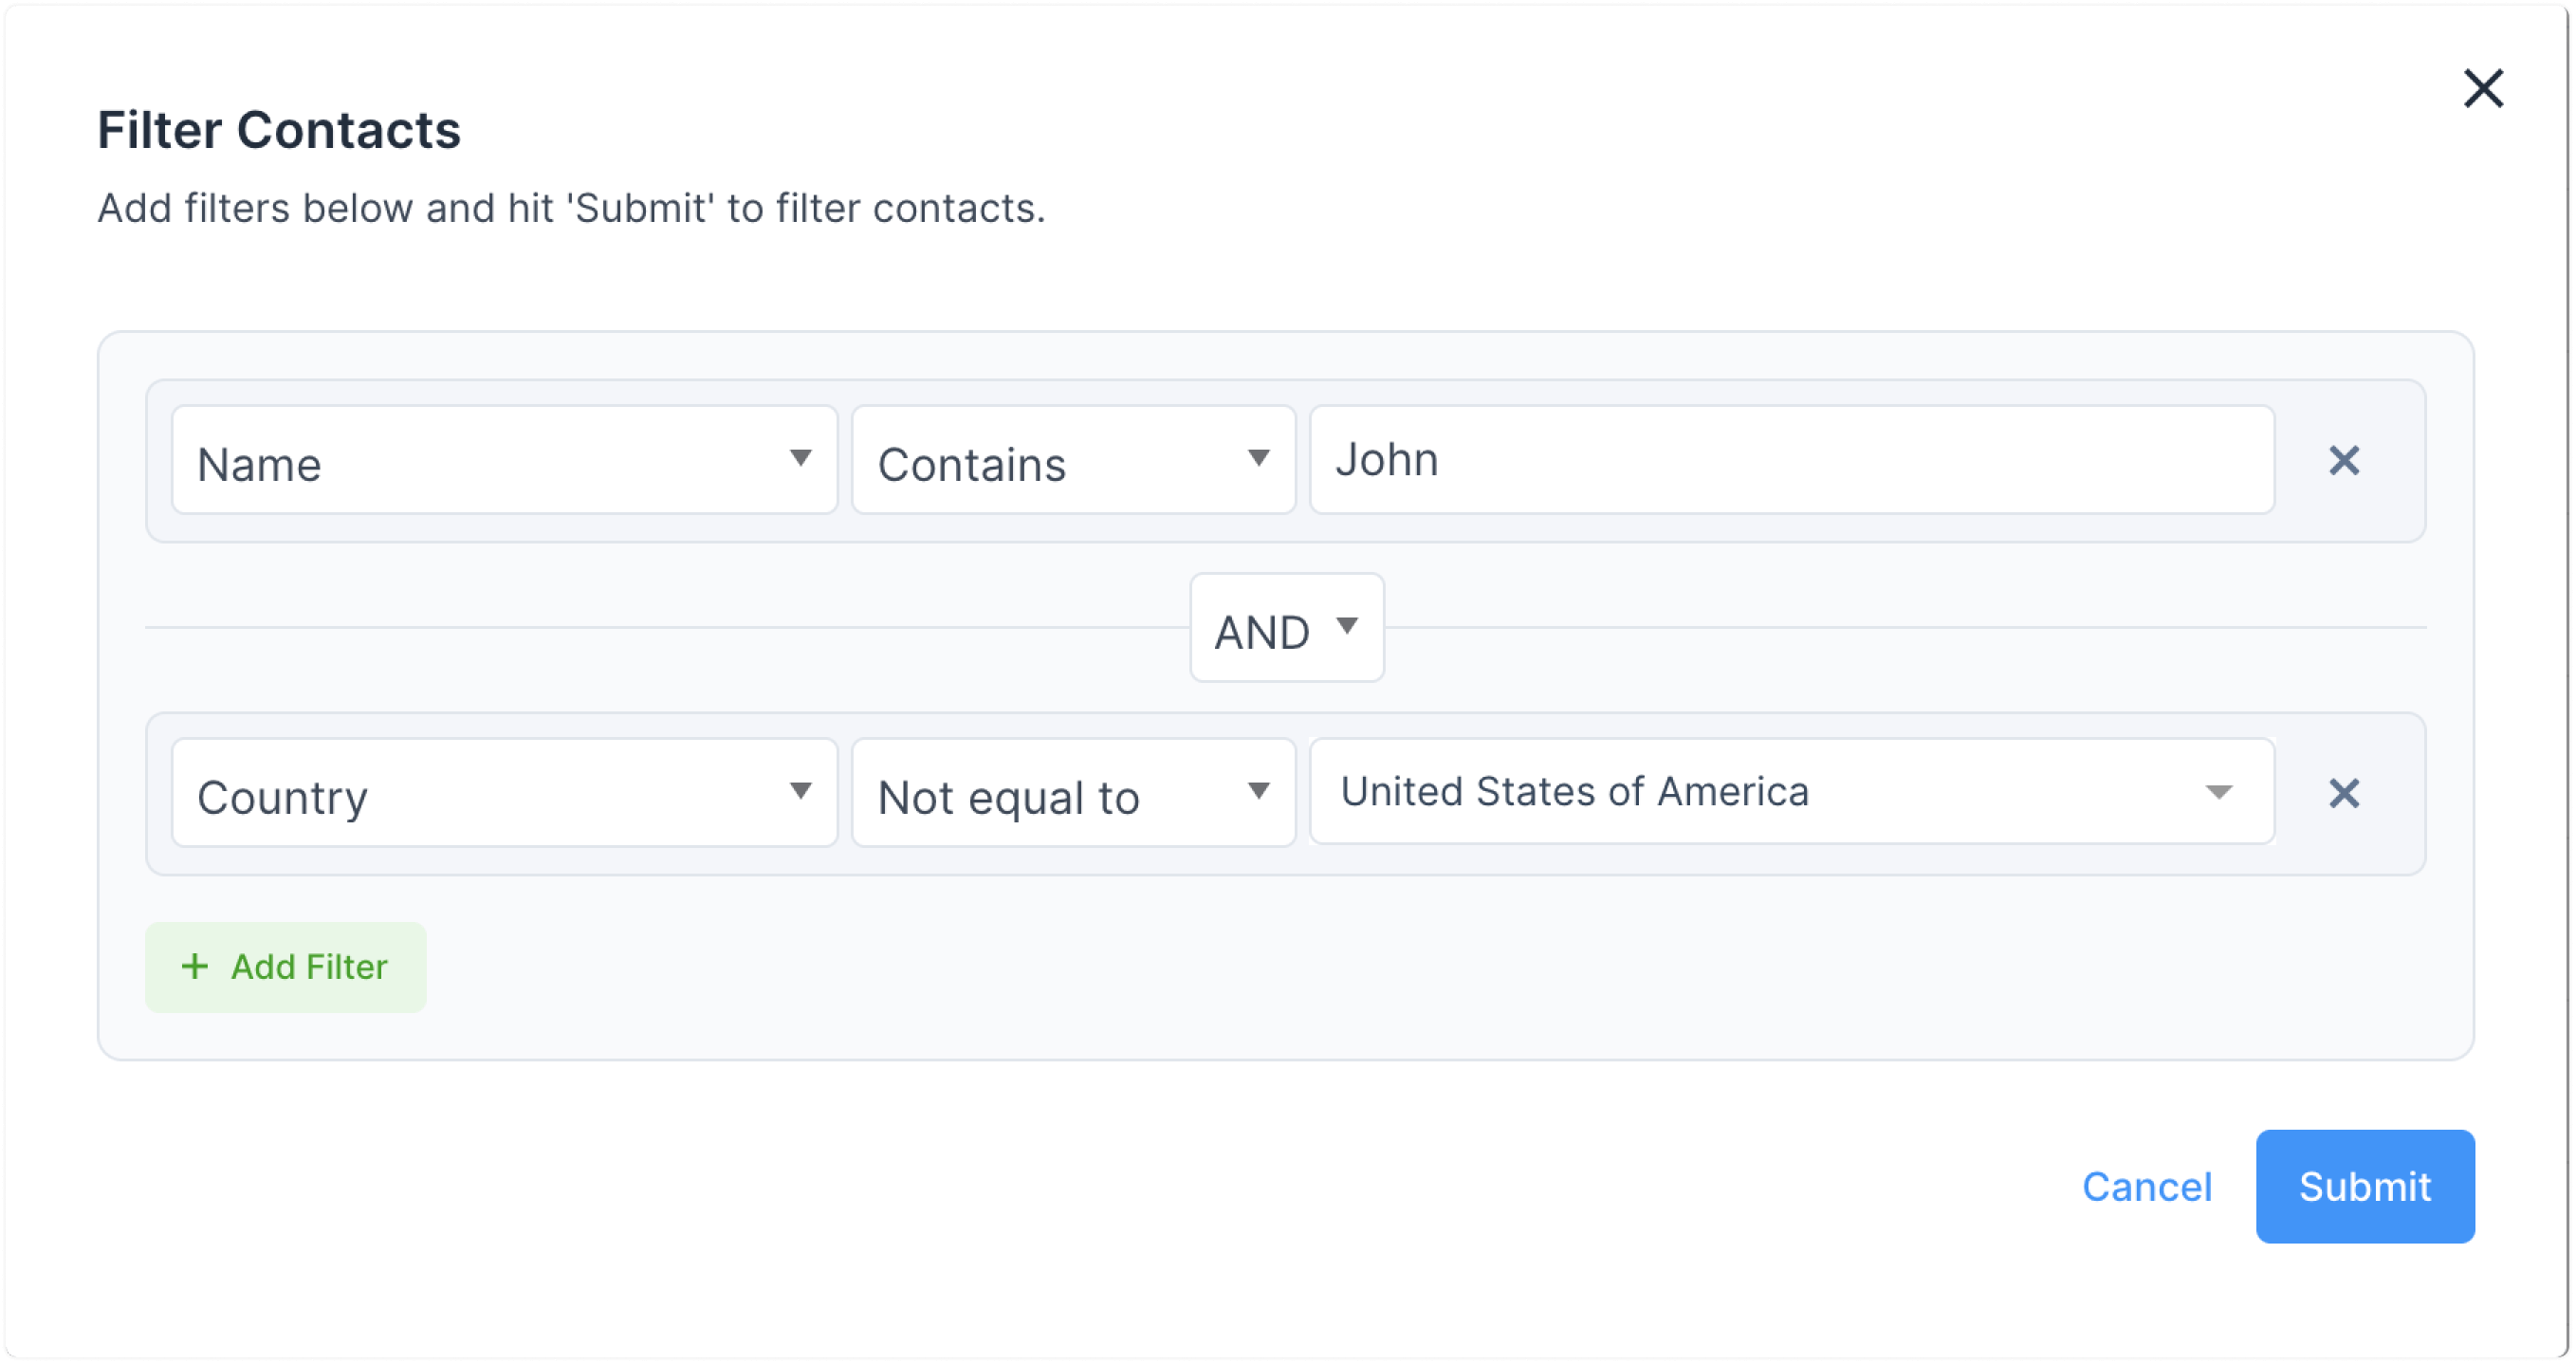
Step 4. Press on “Submit” button. You will be redirected back to the Contacts screen, and you will see only the contacts that are qualified by your selected filters.
Saving a filter as contact segment
A filtered list of contacts shows an option to “Save Filter” at the top of your screen. Saving a filter can help you revisit it with a single click.
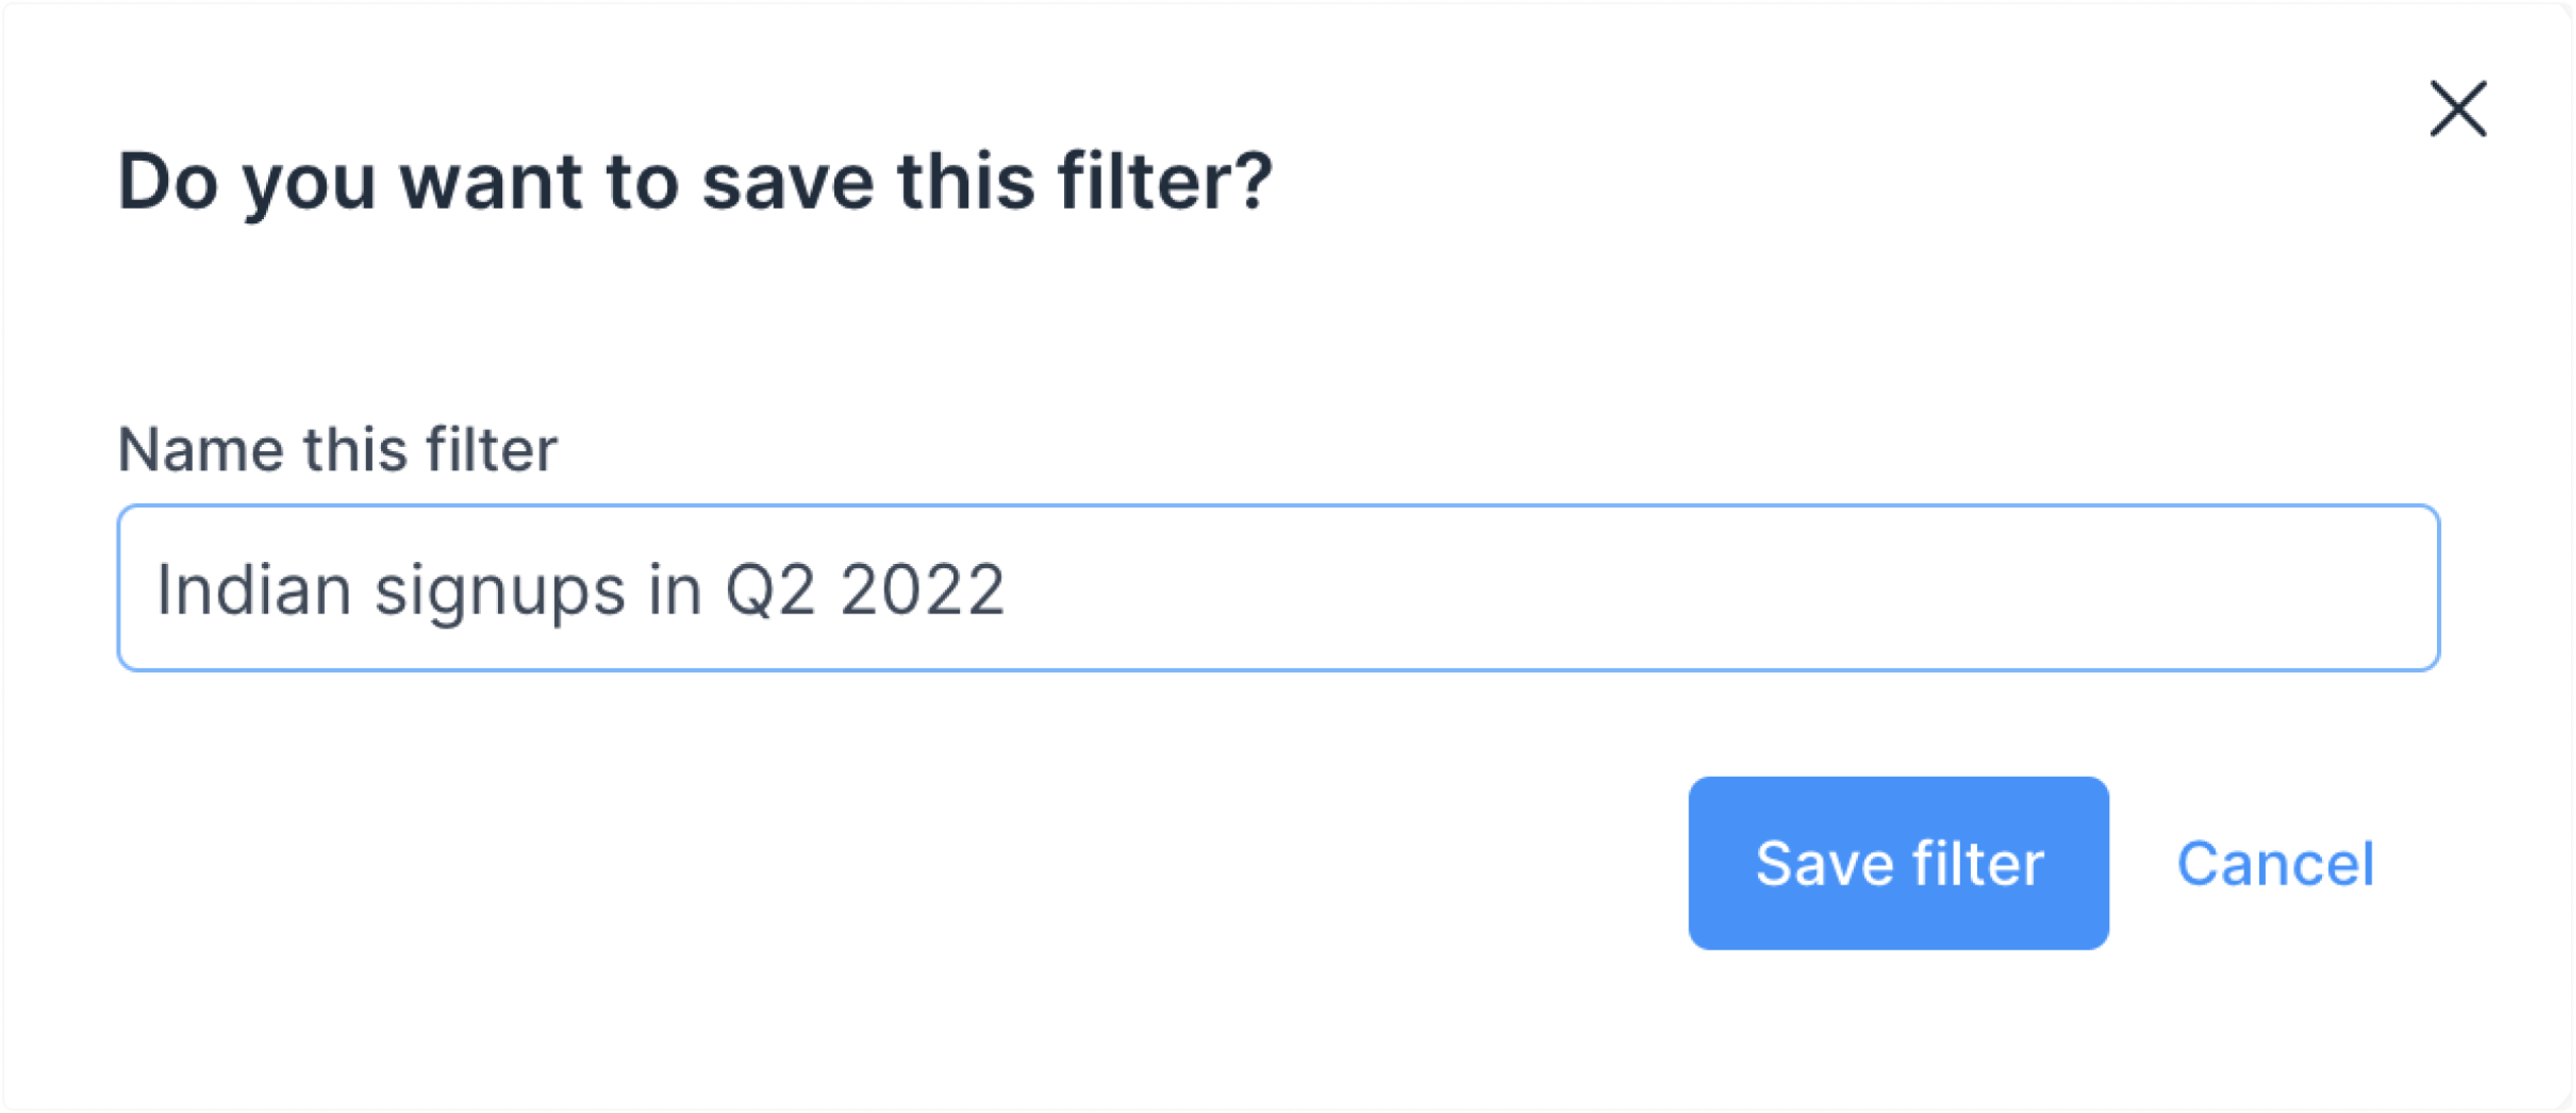
Step 1. Click on the “Save filter” button.

Step 2. Name your filter and click on the “Save filter” button. Here is an example:
To access a contact segment later on, click on it from the sidebar of your contacts.

Editing or reverting a filter
To edit or clear the filters and go back to the original list, follow these steps:
Step 1. Click on the “Filter” button.

Step 2. The popup will open up. Here, you can edit the existing filters using the drop-downs. You can also add filters, or clear them all to revert to the original contacts list.
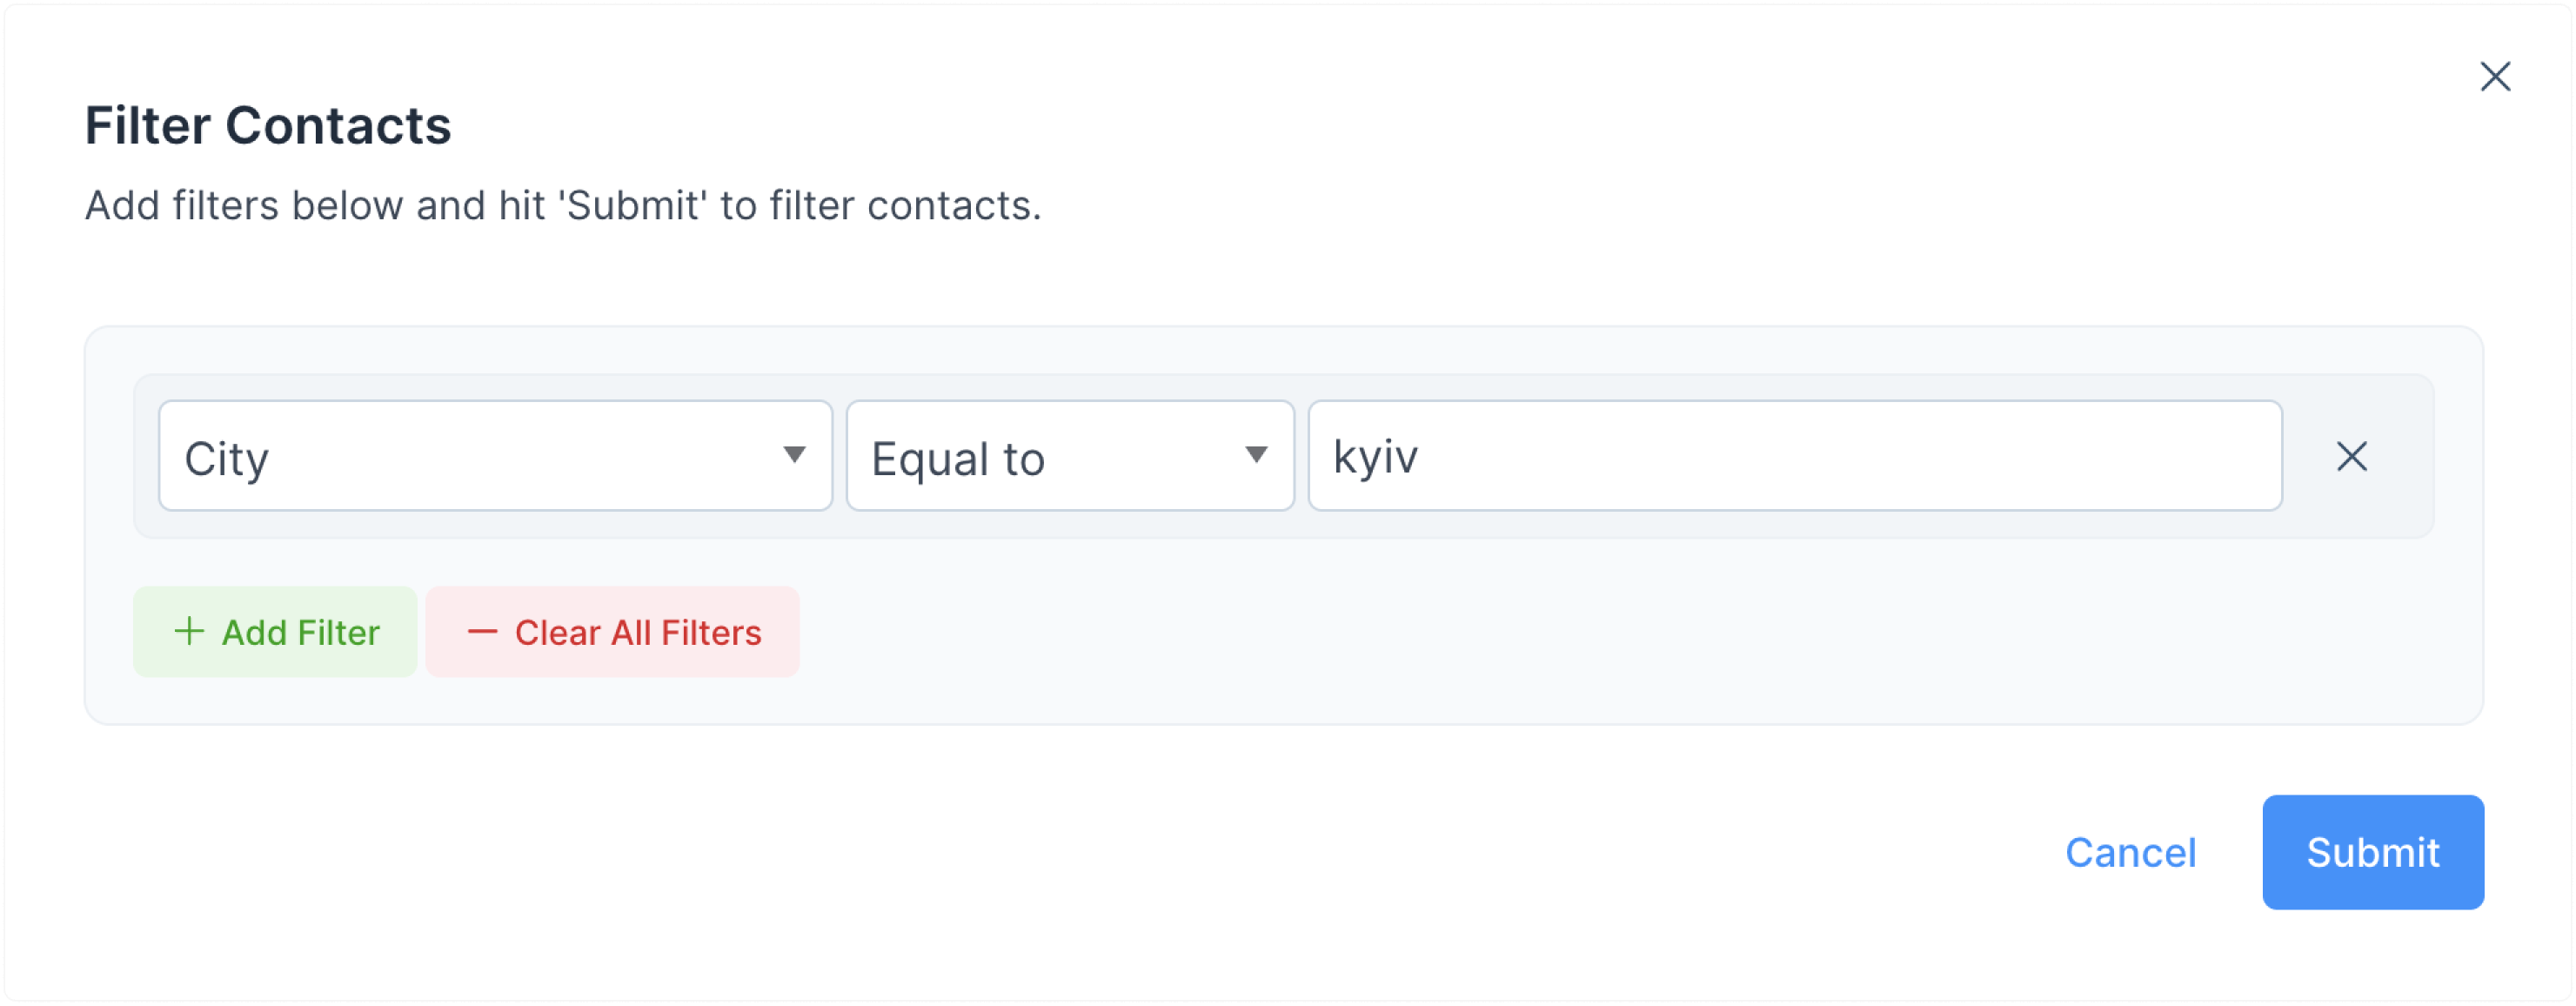
Hit “Submit”.