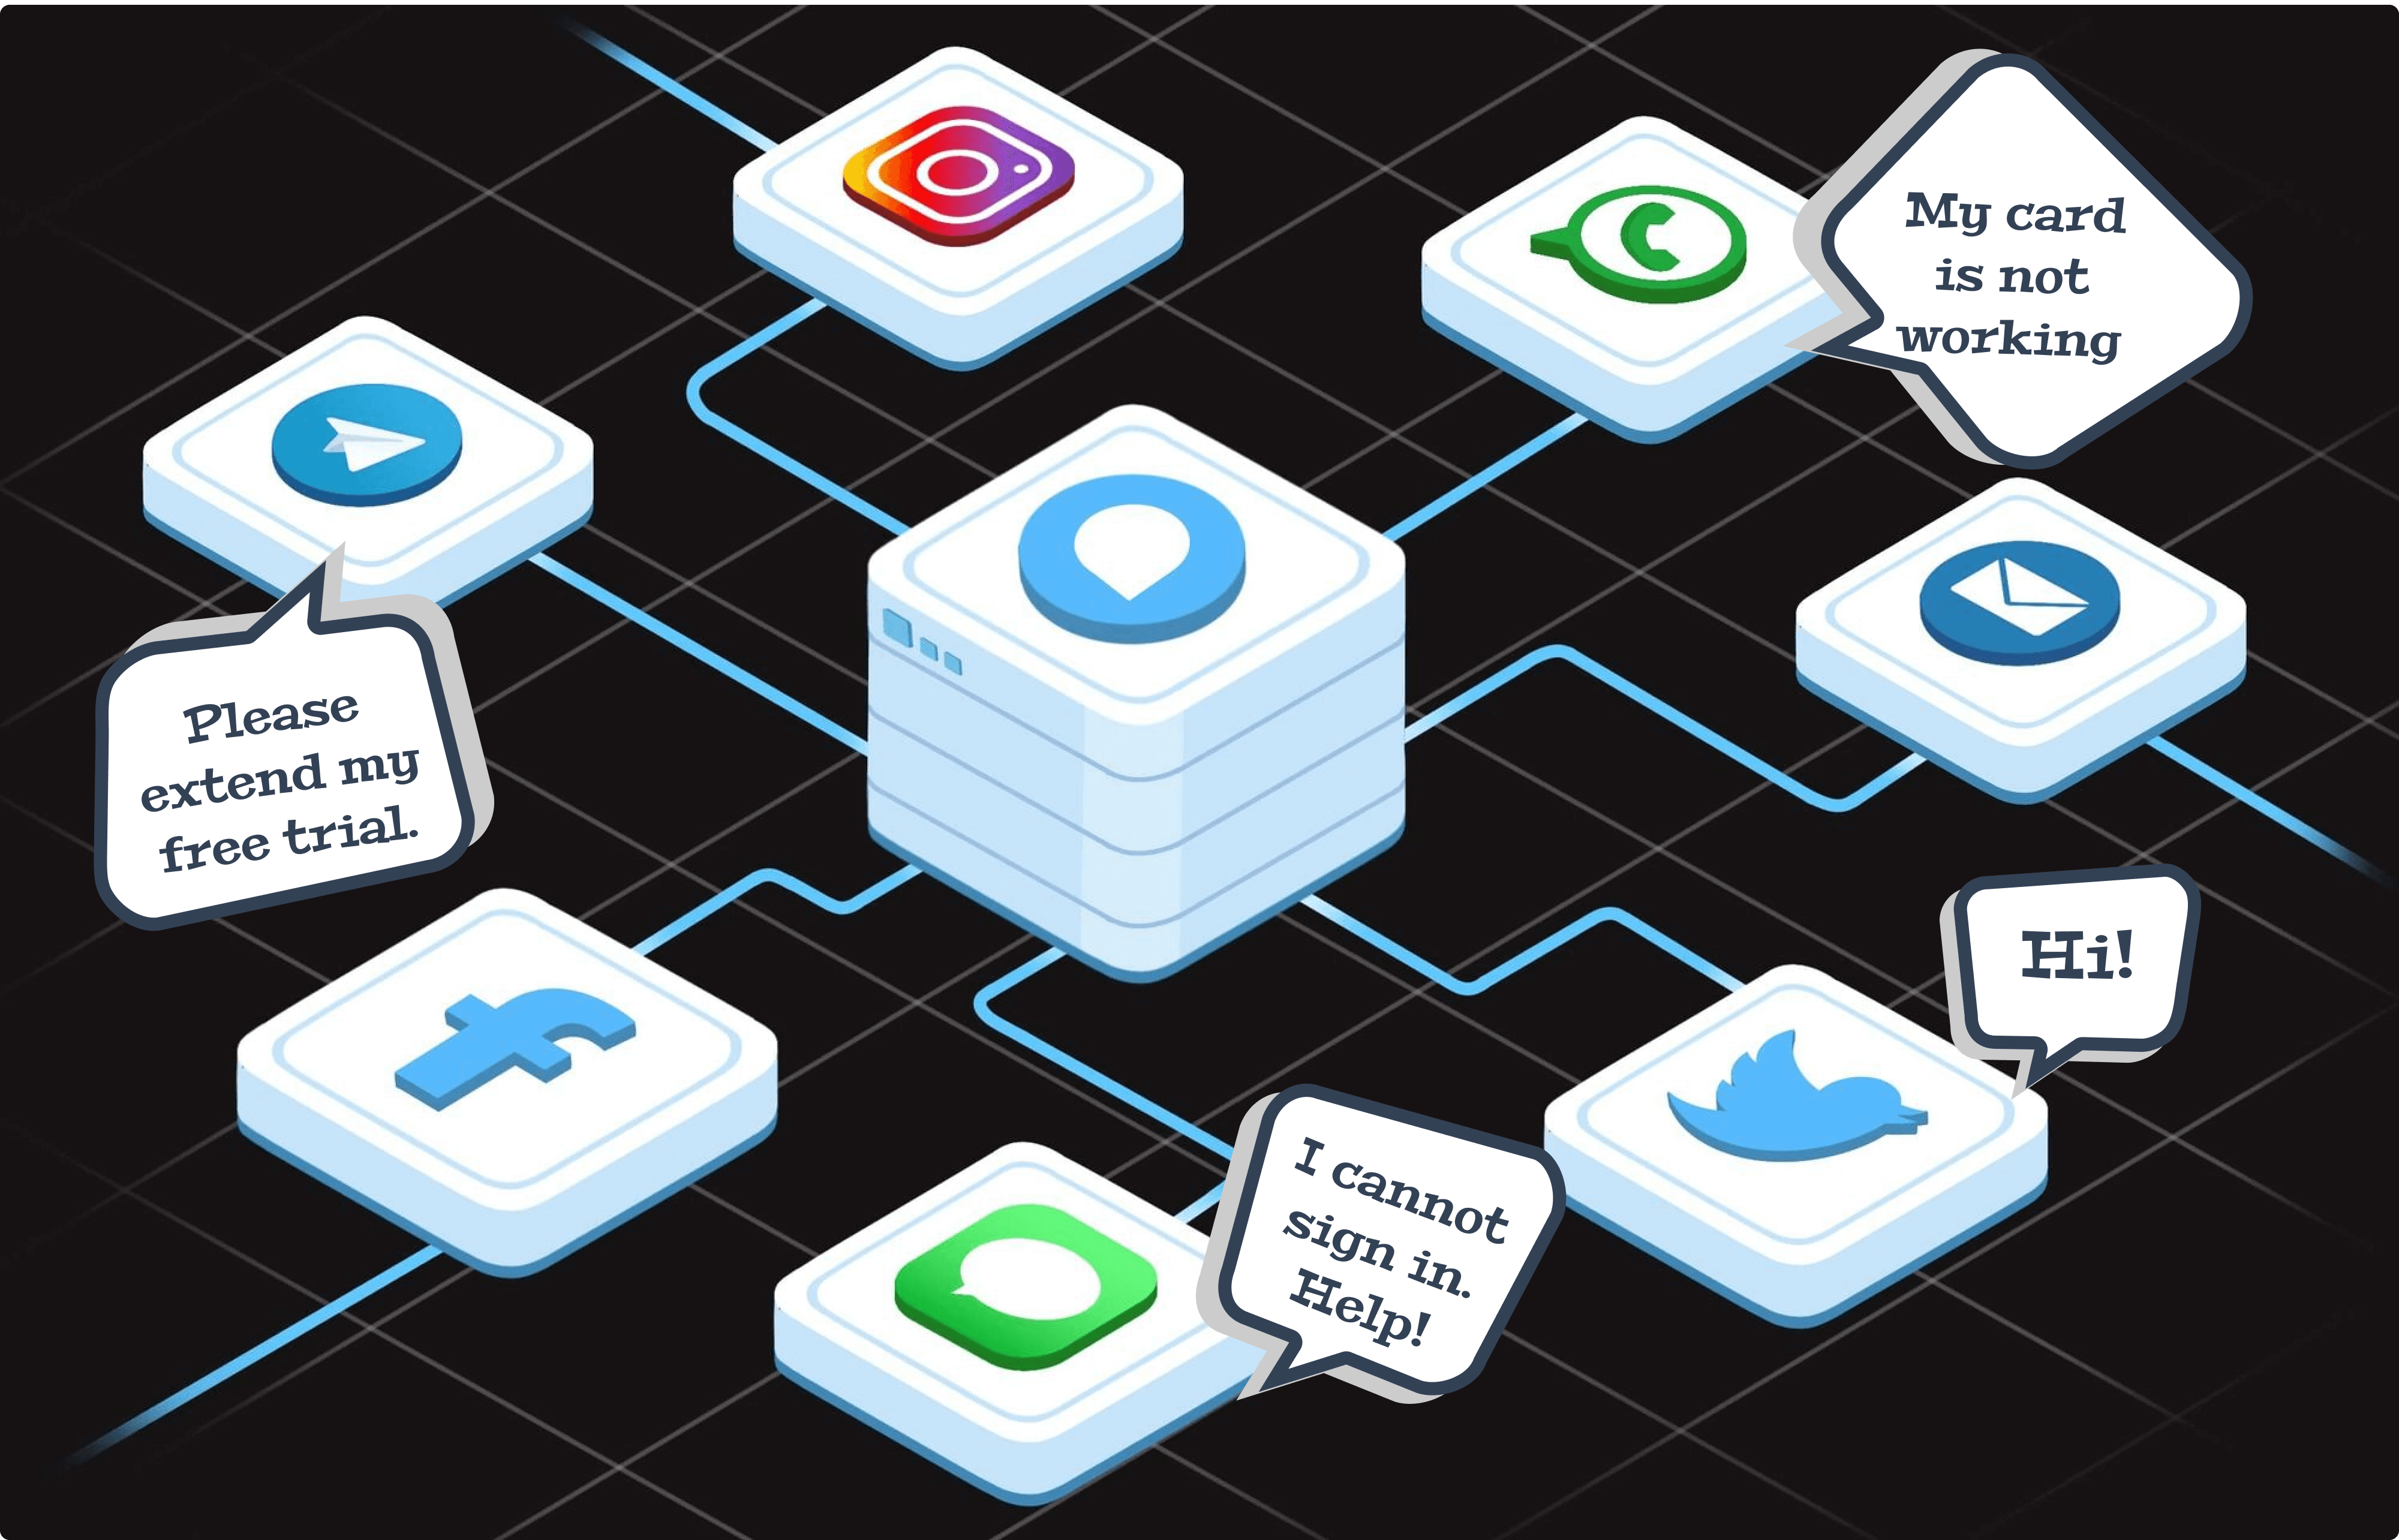
Welcome to Chatwoot! In this beginner-friendly guide, we'll walk you through the basics of handling your first customer conversation.
As a Chatwoot user, you will be able to manage multiple conversations with multiple customers from various channels on a single dashboard.

What is Chatwoot?
Imagine having all your customer conversations - from emails, social media, WhatsApp, and website chat - in one simple dashboard. That's exactly what Chatwoot does for you! No more jumping between different apps to respond to customers.
Understanding Channels
Think of channels as different doors through which your customers can reach you. These include:
-
Email support
-
Website live chat
-
Social media (Twitter, Instagram, Facebook)
-
Messaging apps (WhatsApp, Line, Telegram)
-
SMS
-
Chatbot
Quick Tip: In Chatwoot, we call each channel connection an "inbox" - just like your email inbox, but smarter!
How Does It Work?
Based on the channels you choose for your organization, your customers can contact you from any of them. When someone sends a message, it becomes a new conversation in Chatwoot, listed chronologically on your dashboard.
Here's what your conversation list looks like:

Creating Your First Conversation
Sign up for your free trial account to get started. We'll help you set up a website live chat channel, but you can also check out other channel setup guides here.
Let's set up your website channel:
Step 1. Go to Settings → Inboxes → "Add Inbox".

Step 2. Click on the "Website" icon.

Step 3. Fill in the fields you see on the screen. Need help? Check out our detailed guide.
Step 4. Go to your website where you enabled live chat. Open the chat widget and send a test message.
Step 5. Open your Chatwoot dashboard to see and reply to the message!
Responding to Messages
When you receive a message, simply open the conversation and reply from the chat box. Your response will reach the customer through their original channel - whether that's email, WhatsApp, or any other platform.

Don't worry about all the additional features you see on the dashboard (like Private Notes, Conversation Actions, and Macros). We'll cover these in the next lessons!
Ready to learn more? Check out our next lesson on dashboard basics.