WordPress is a popular Content Management System. If you are hosting your website on WordPress, you can add a Chatwoot live chat widget and talk to your visitors in real time. This can be done in 4 simple steps using Chatwoot’s WordPress plugin.
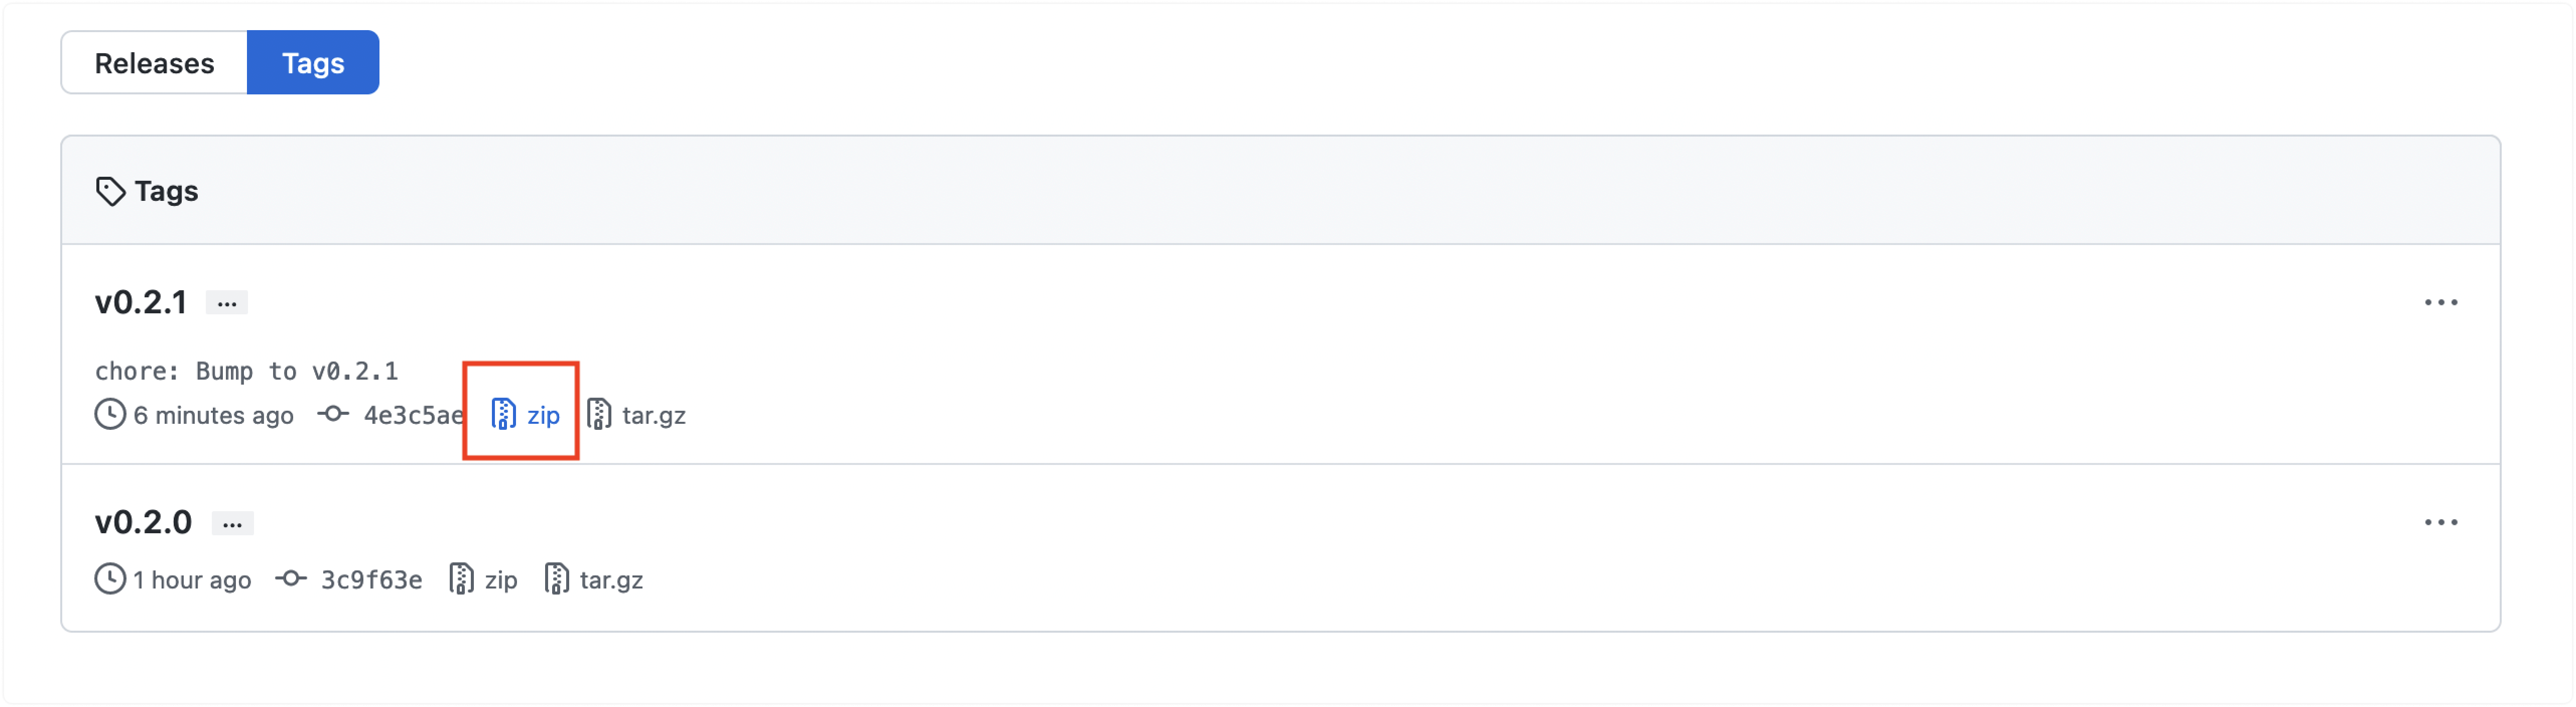
Step 1. Download the Chatwoot plugin
Download the Zip file of the latest Chatwoot WordPress plugin from GitHub, as shown below.
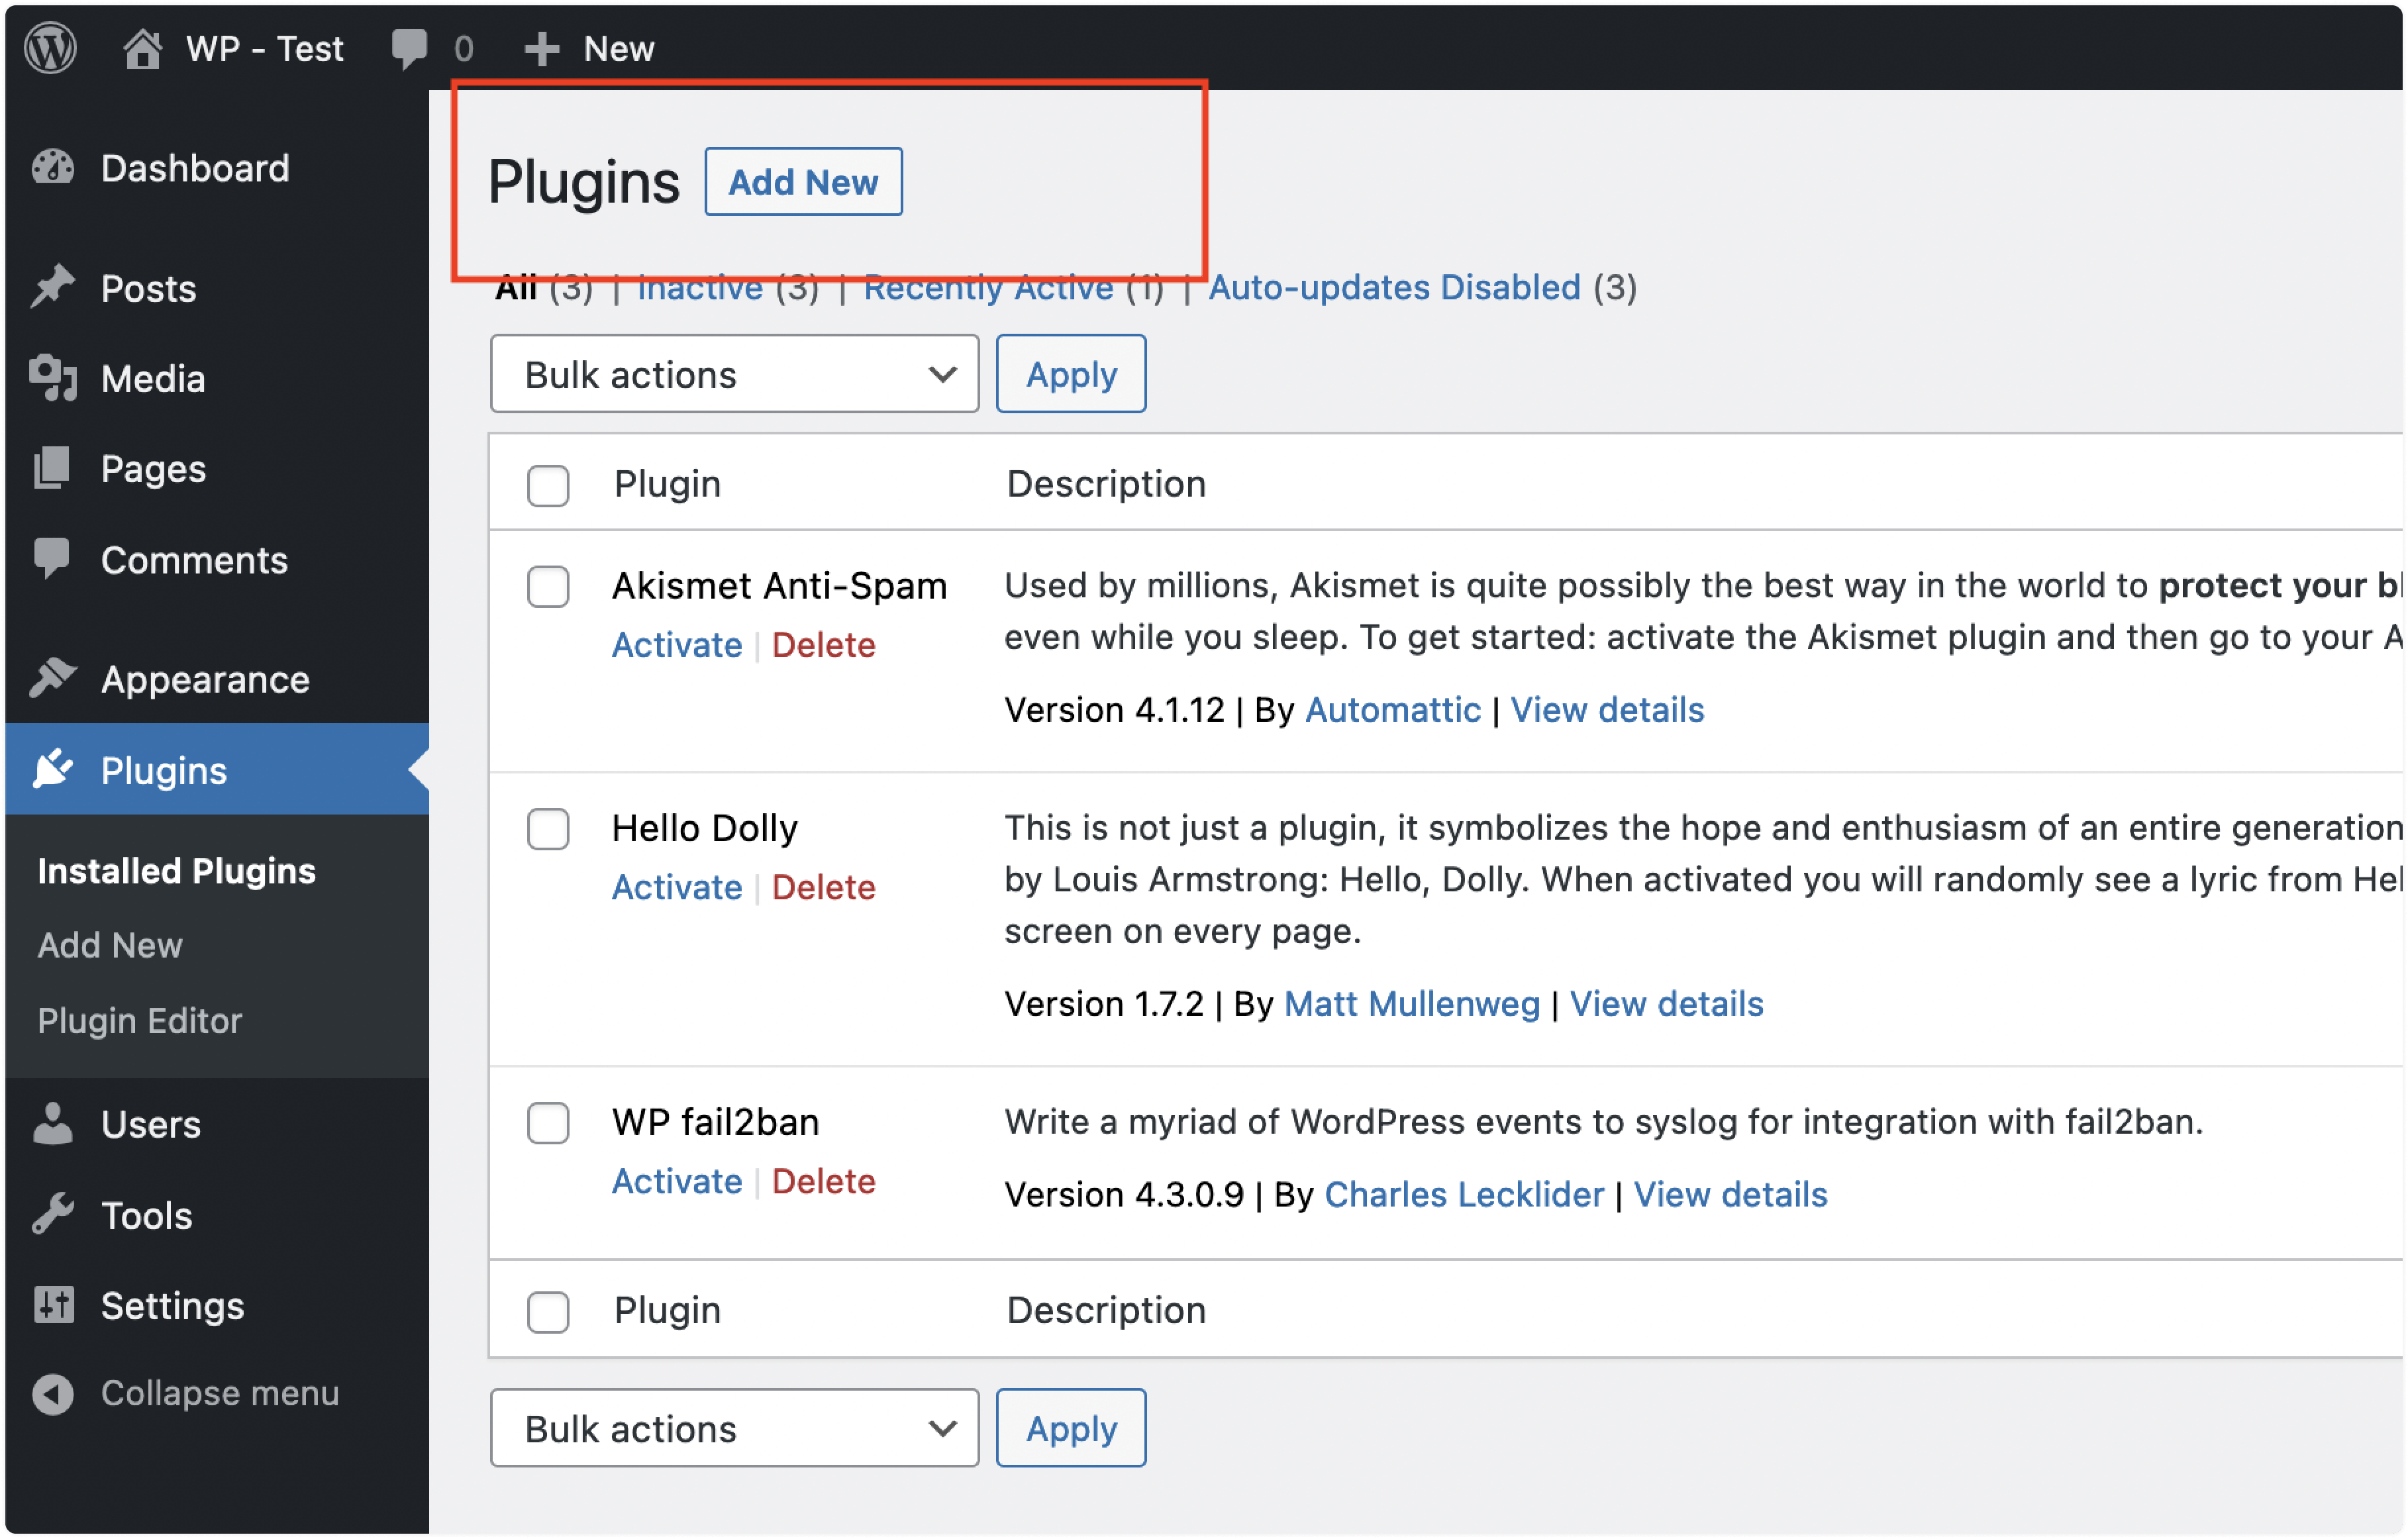
Step 2. Upload the plugin to your WordPress website
Log in to your WordPress account. Navigate to the Admin Panel and click “Plugins” from the sidebar. You will be able to see the "Add New" button.
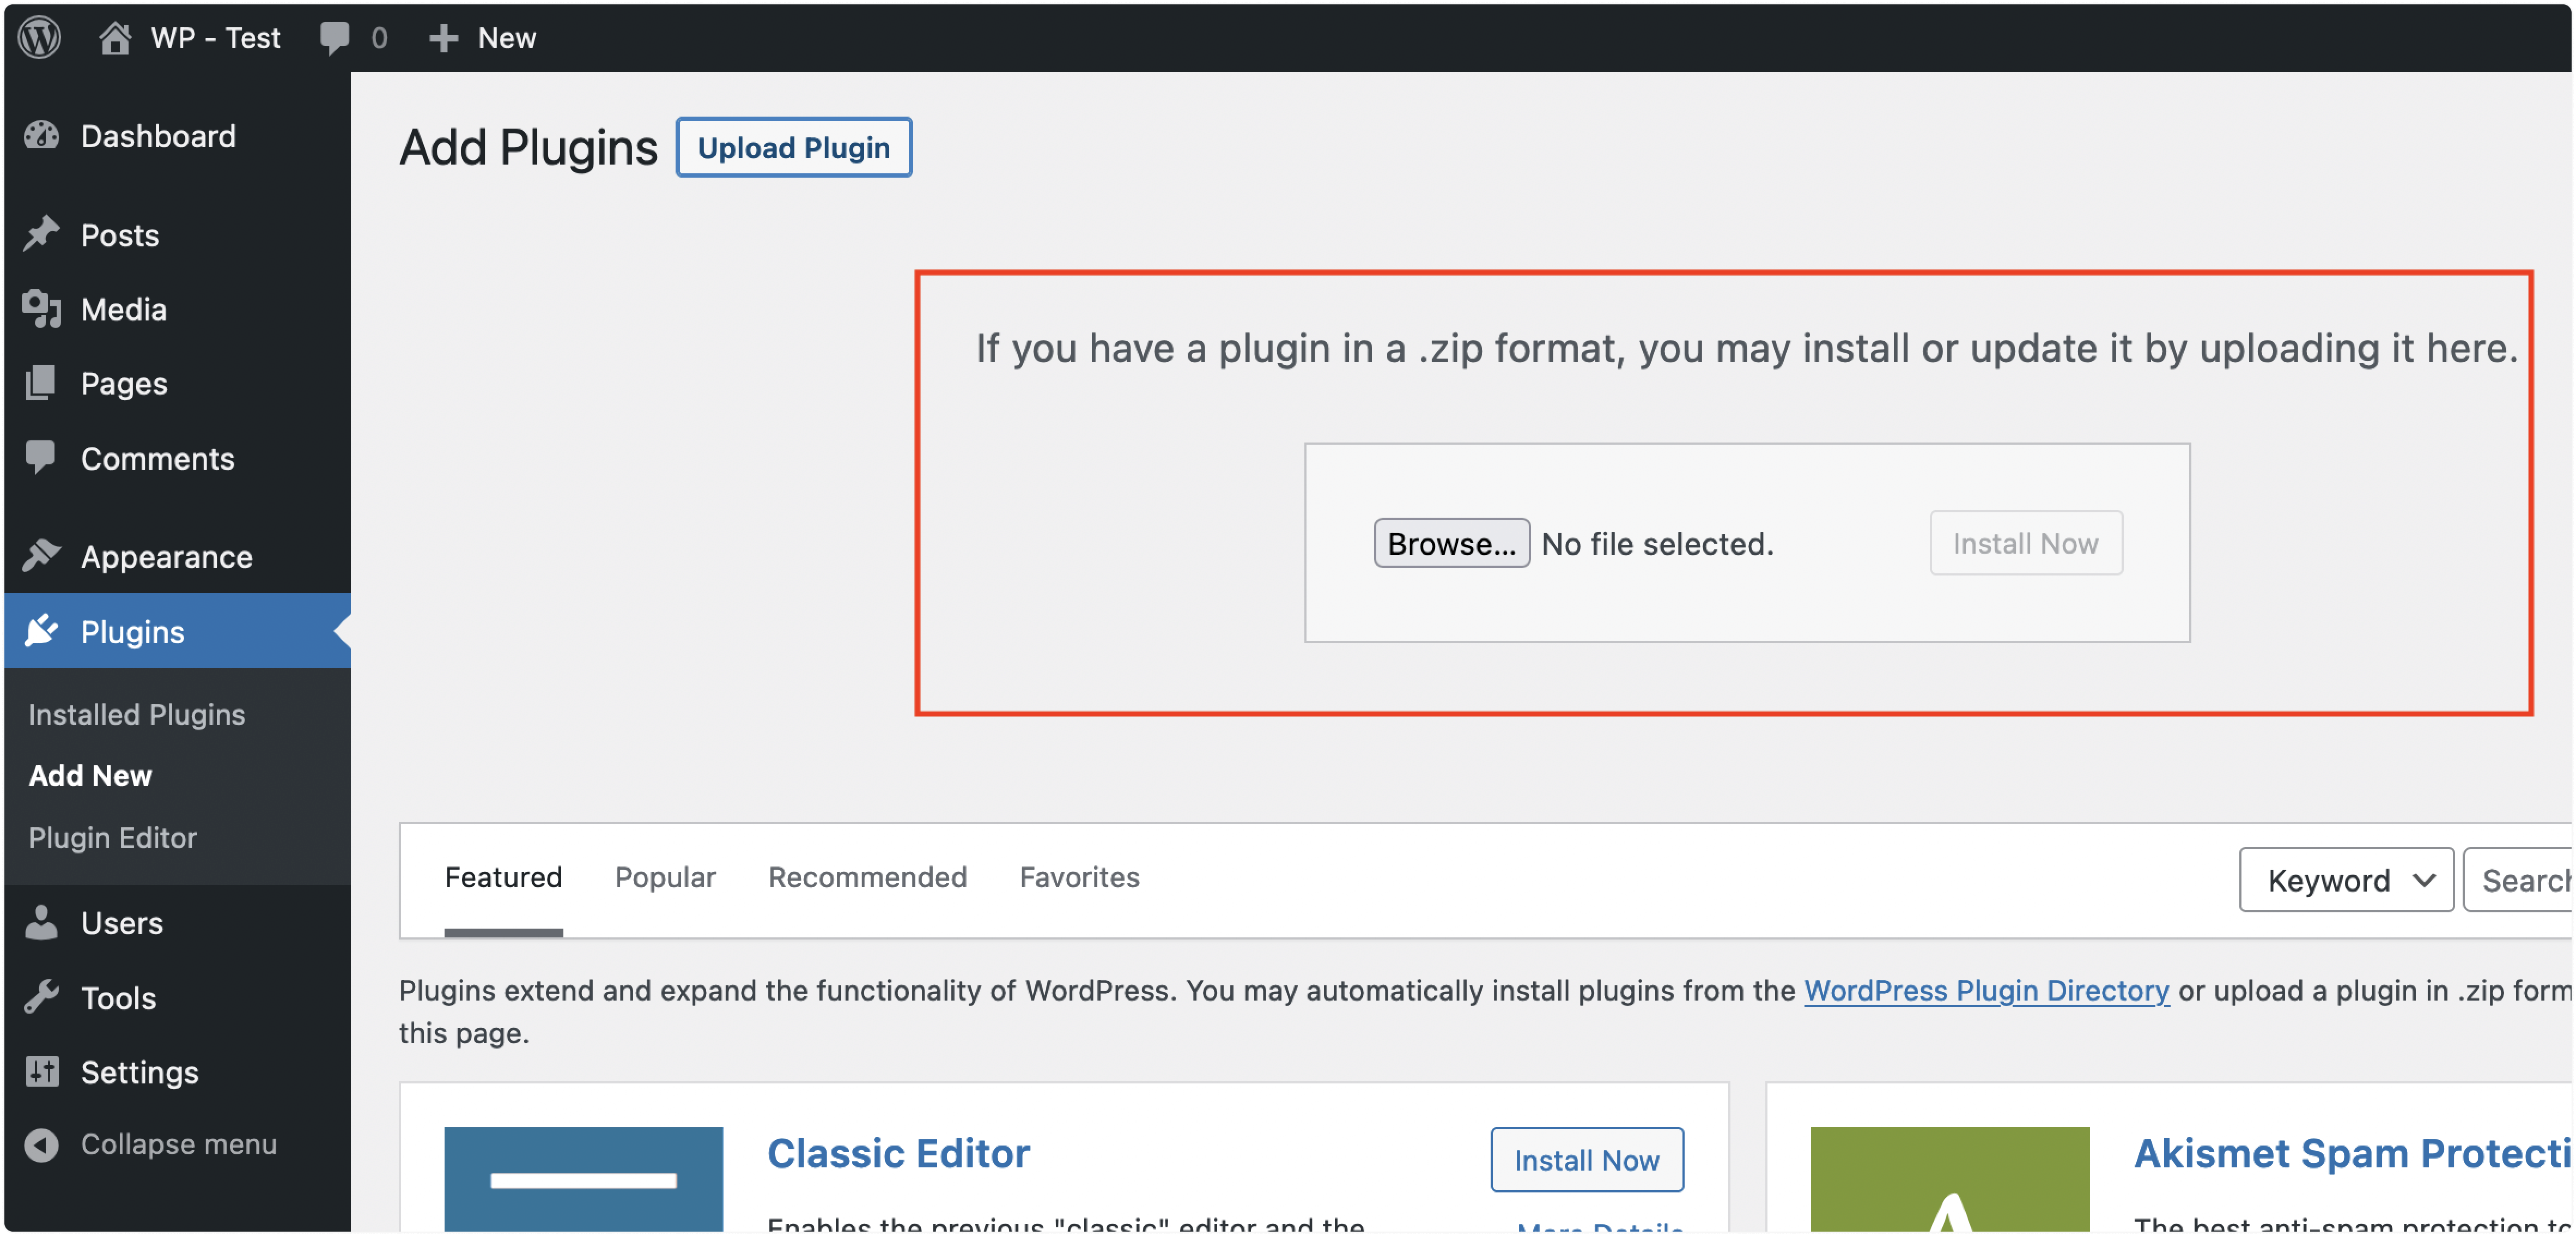
You will see an option to upload the plugin, as shown in the screenshot below. Click “Upload” and select the Zip file downloaded in step 1.
Step 3. Activate the plugin
Once the plugin is uploaded, you will see a Success screen with the "Activate Plugin" option, as shown below. Click the "Activate Plugin” button.
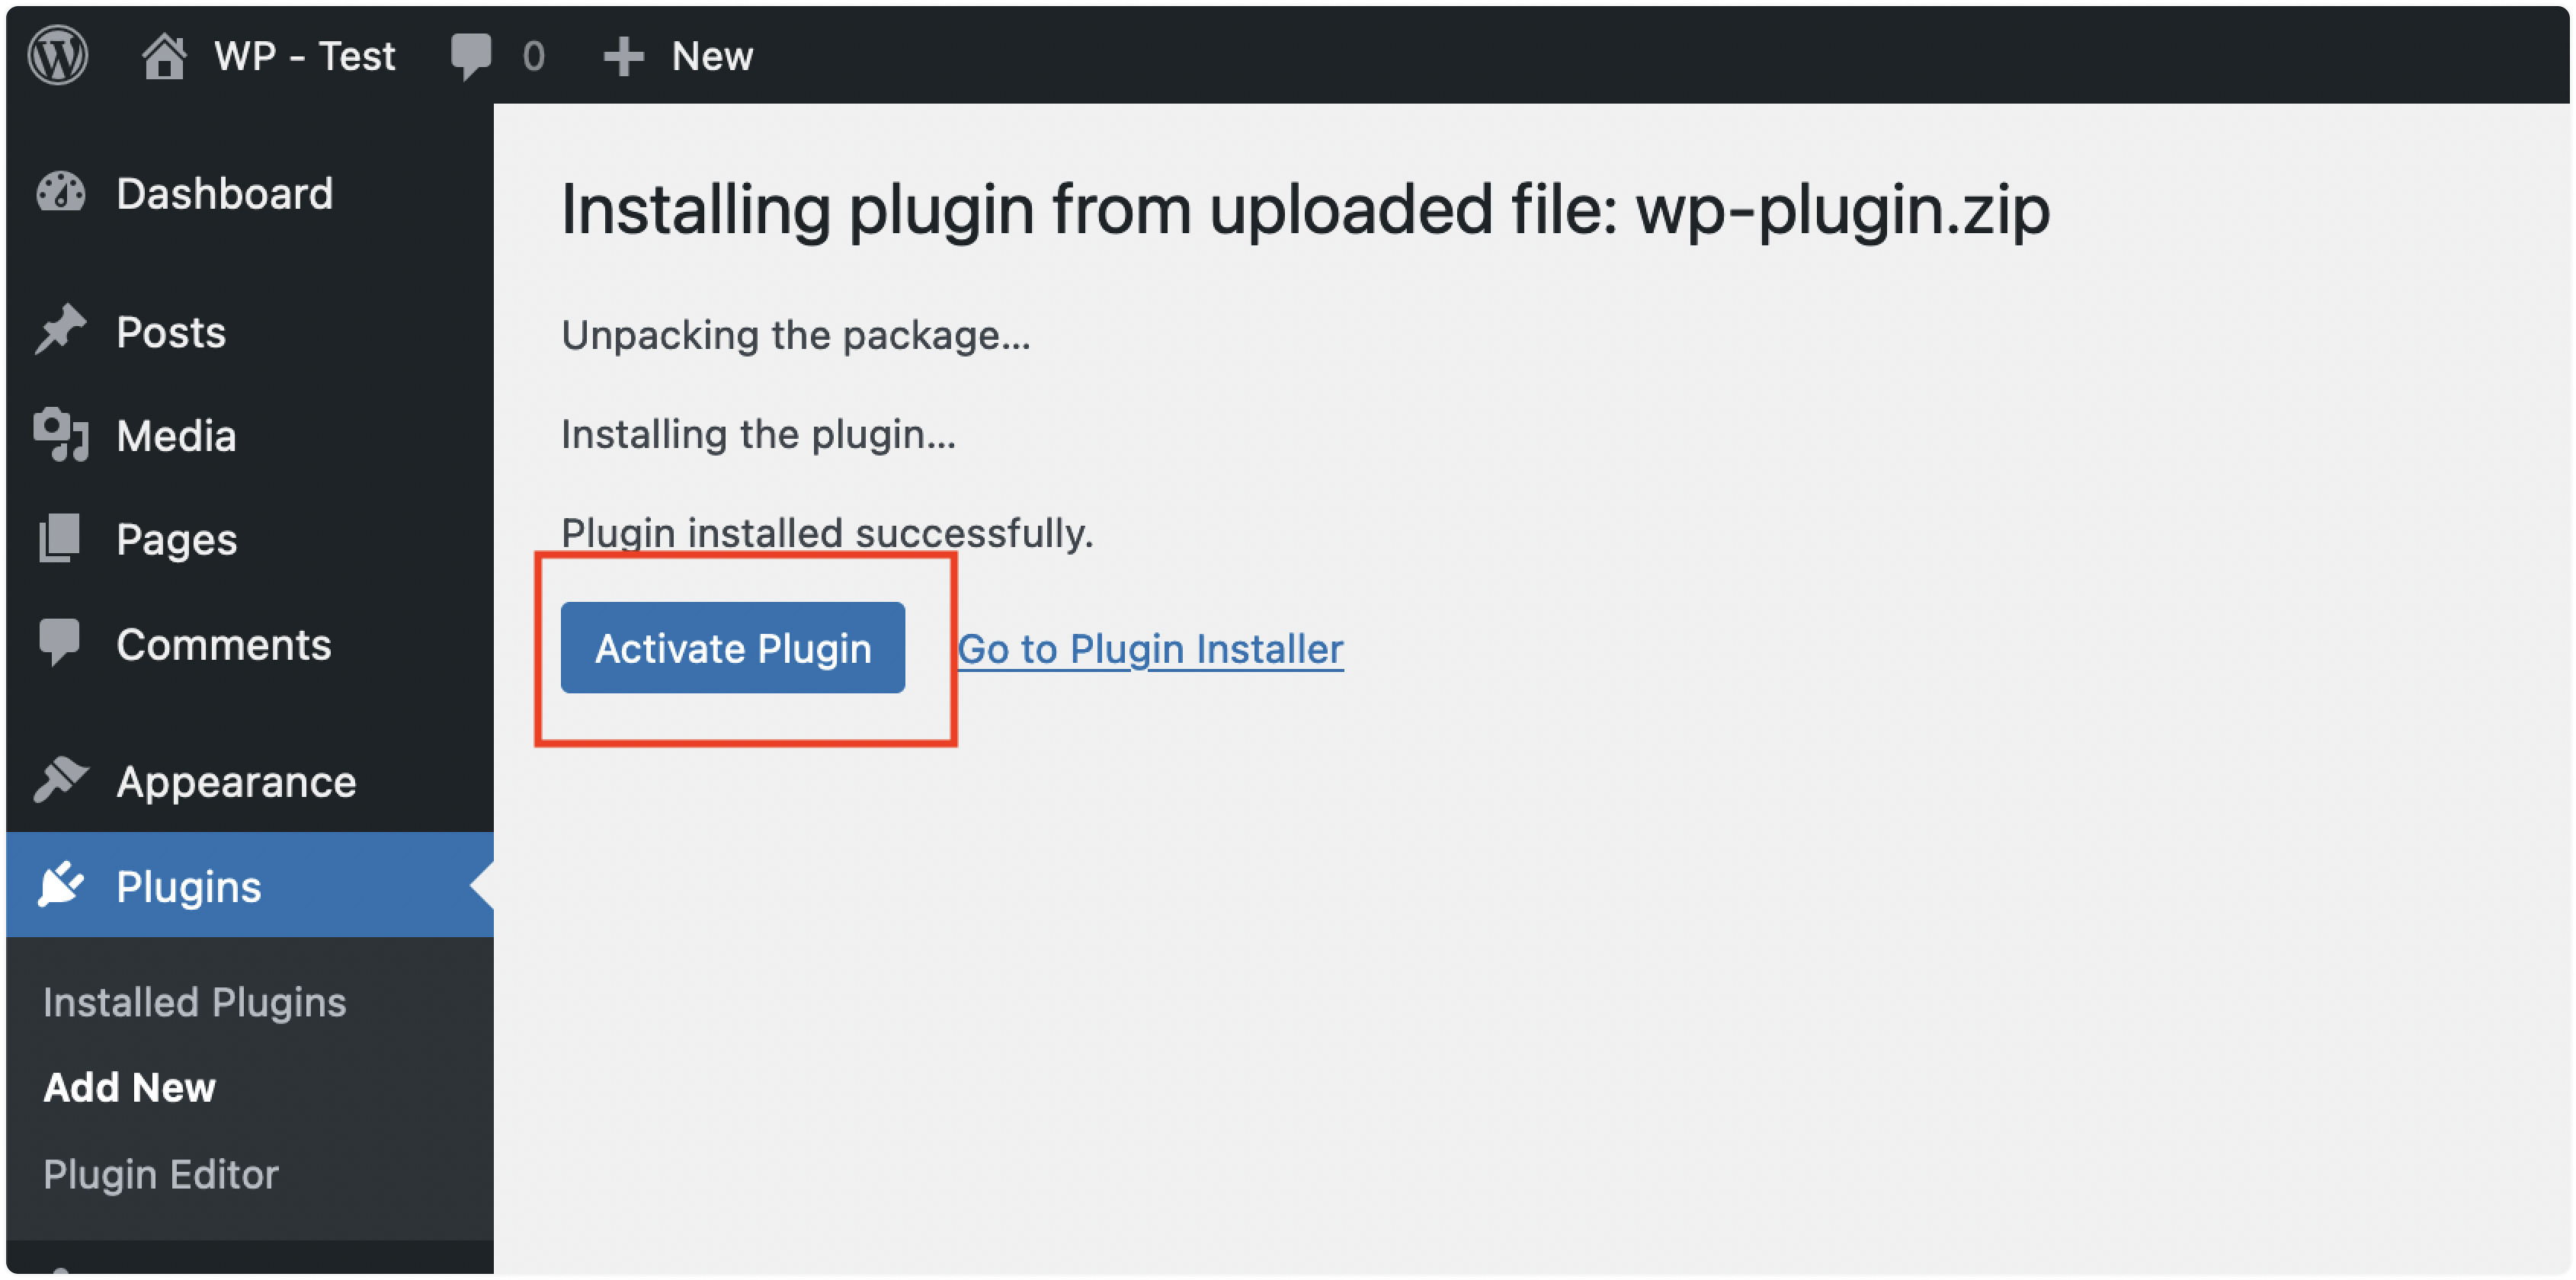
Congrats! The plugin is now installed. To complete the configuration, you must share the Chatwoot app credentials, as shown in the steps below.
Step 4. Configure the plugin
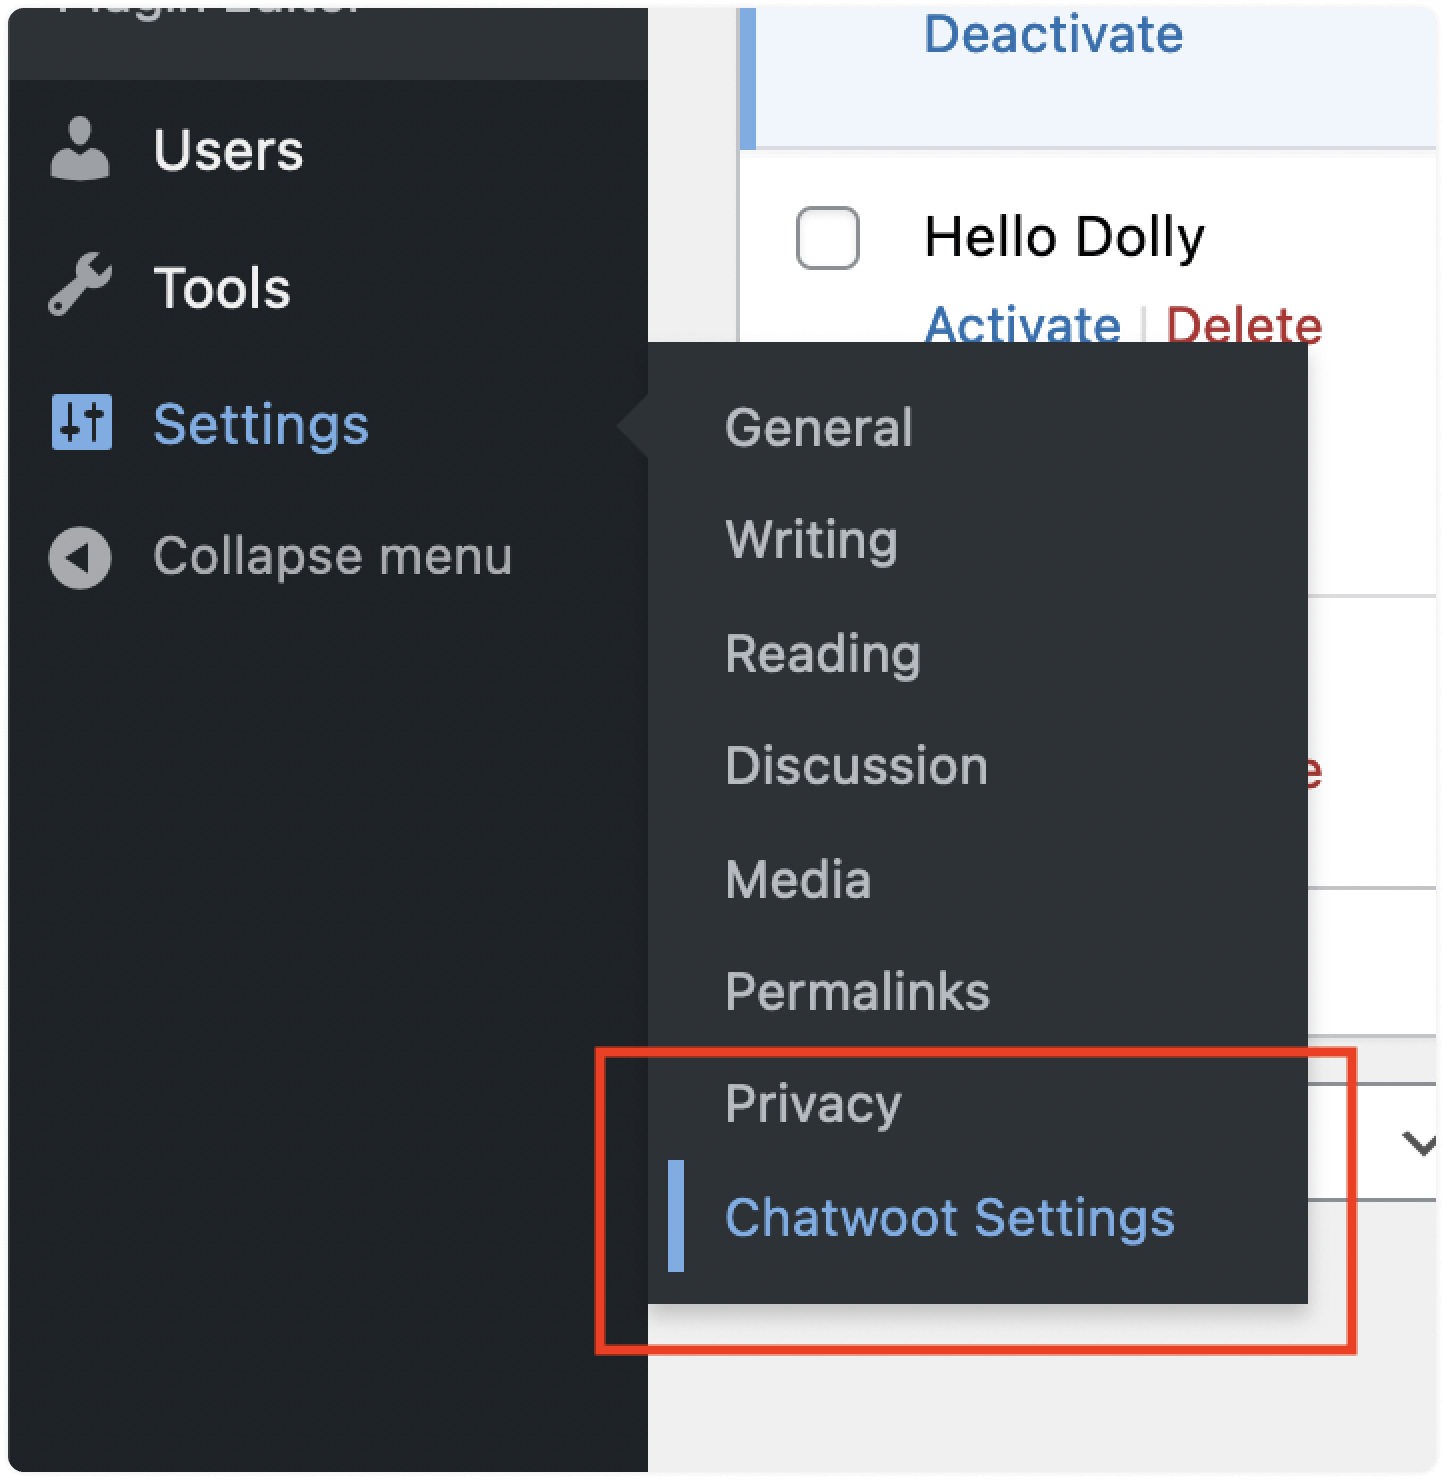
Now, you will be able to see “Chatwoot Settings” under your "Settings" menu. Click on that to update the live-chat configuration.
You will be presented with the Settings screen as shown below. Configure your Chatwoot plugin here to make it work.
You need to create a Website inbox on your Chatwoot installation. Please refer to this guide to create a website channel inbox.
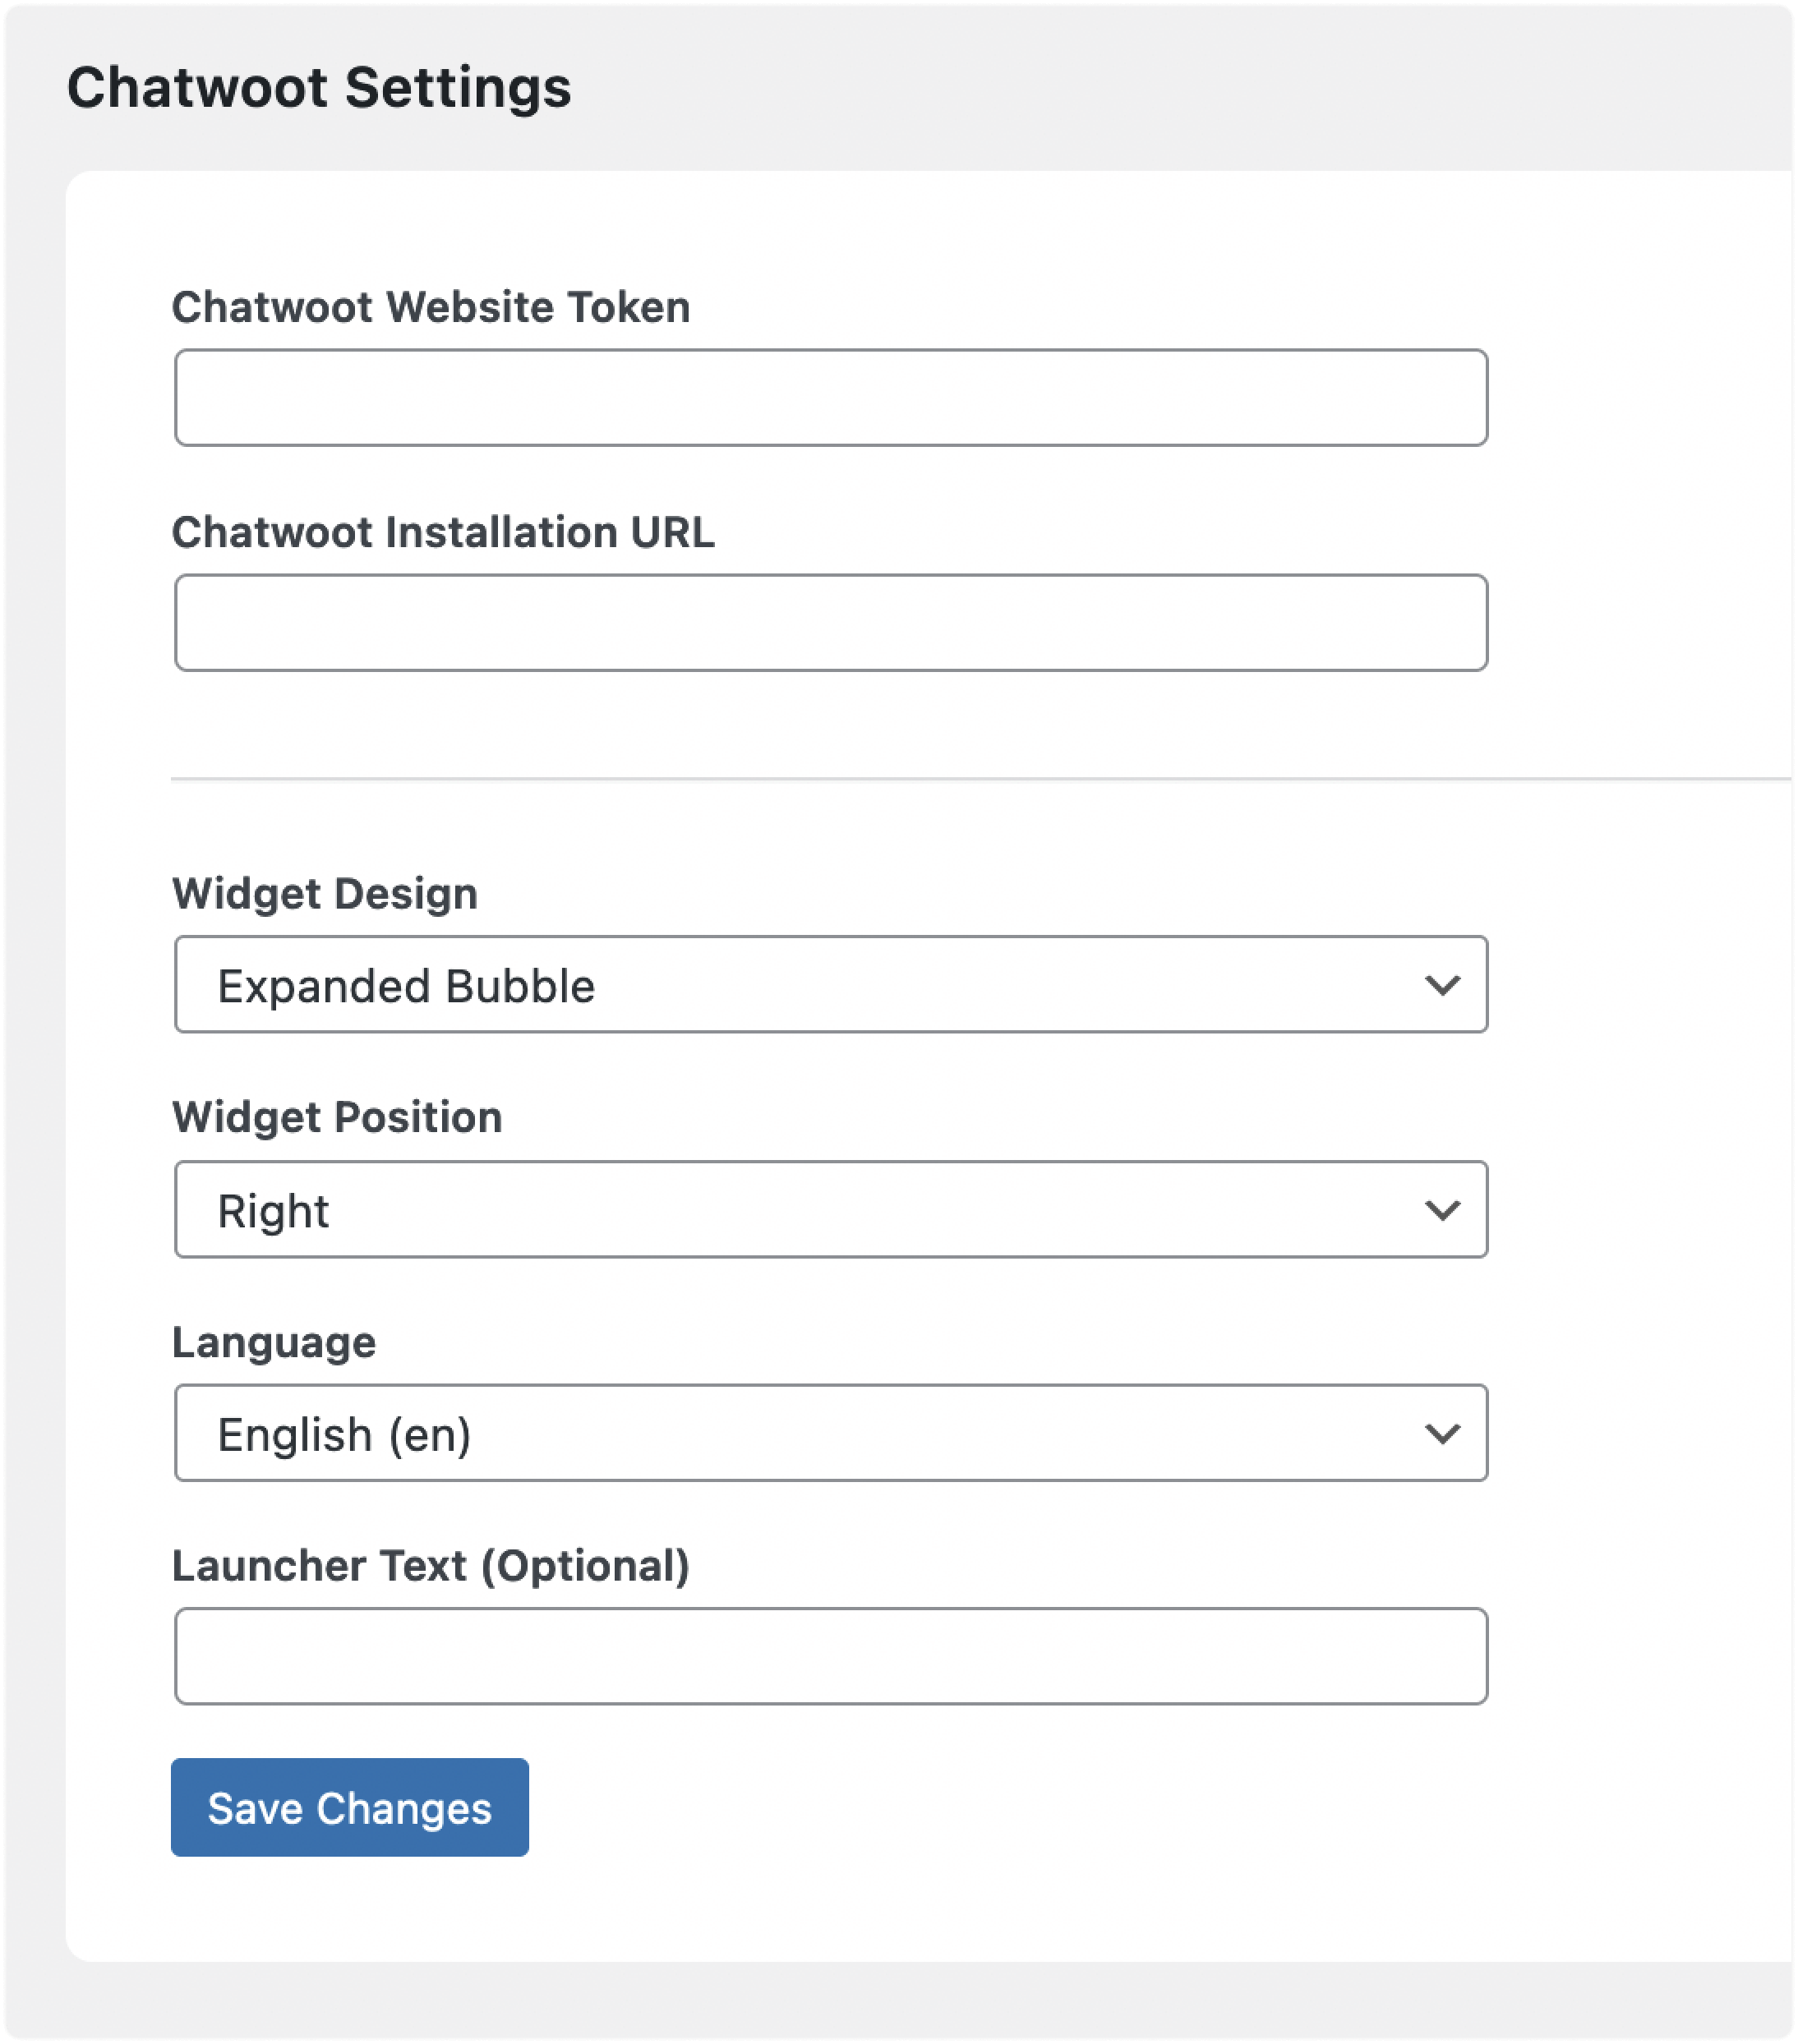
The form fields are explained below.
-
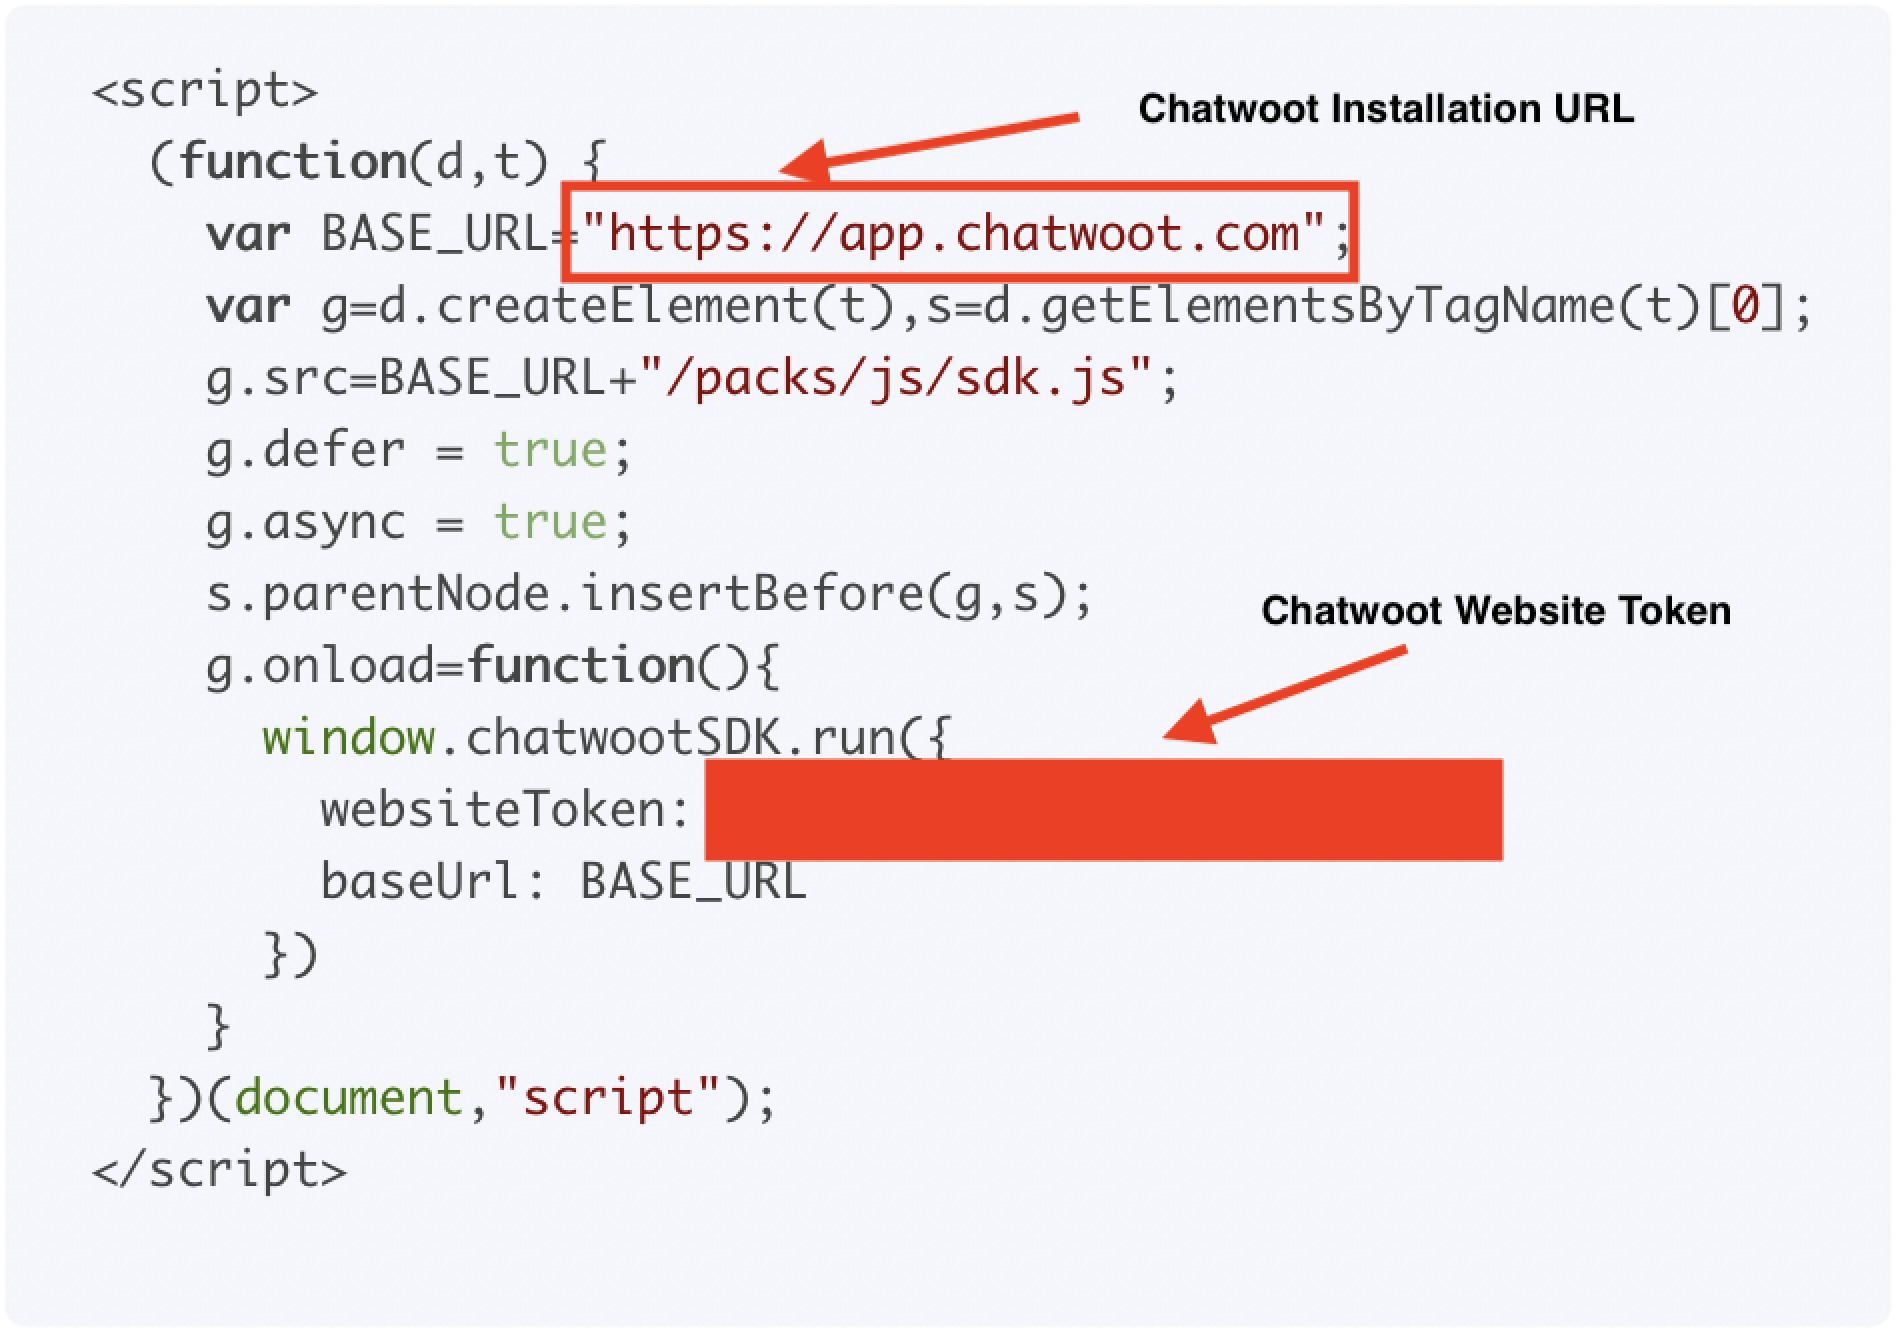
Chatwoot Website Token / Chatwoot Installation URL
Once you create a website channel inbox in your Chatwoot installation, you will get a script. You can copy the Token and the URL as shown below.
-
Widget Design
Chatwoot supports two live chat widget designs–Standard Design and an Expanded Bubble design. Choose your preference.
-
Widget Position
You can select where to place the live-chat widget on the website based on your preference. The available options are Left & Right.
-
Language
Chatwoot support 30+ languages. The default language is English.
-
Launcher text
This is an optional field. If you use the expanded bubble design, you can use the launcher text to customize the text displayed on the bubble.
Once you complete the form, click the "Save changes" button. Also, ensure that you have set up the website inbox from Chatwoot.
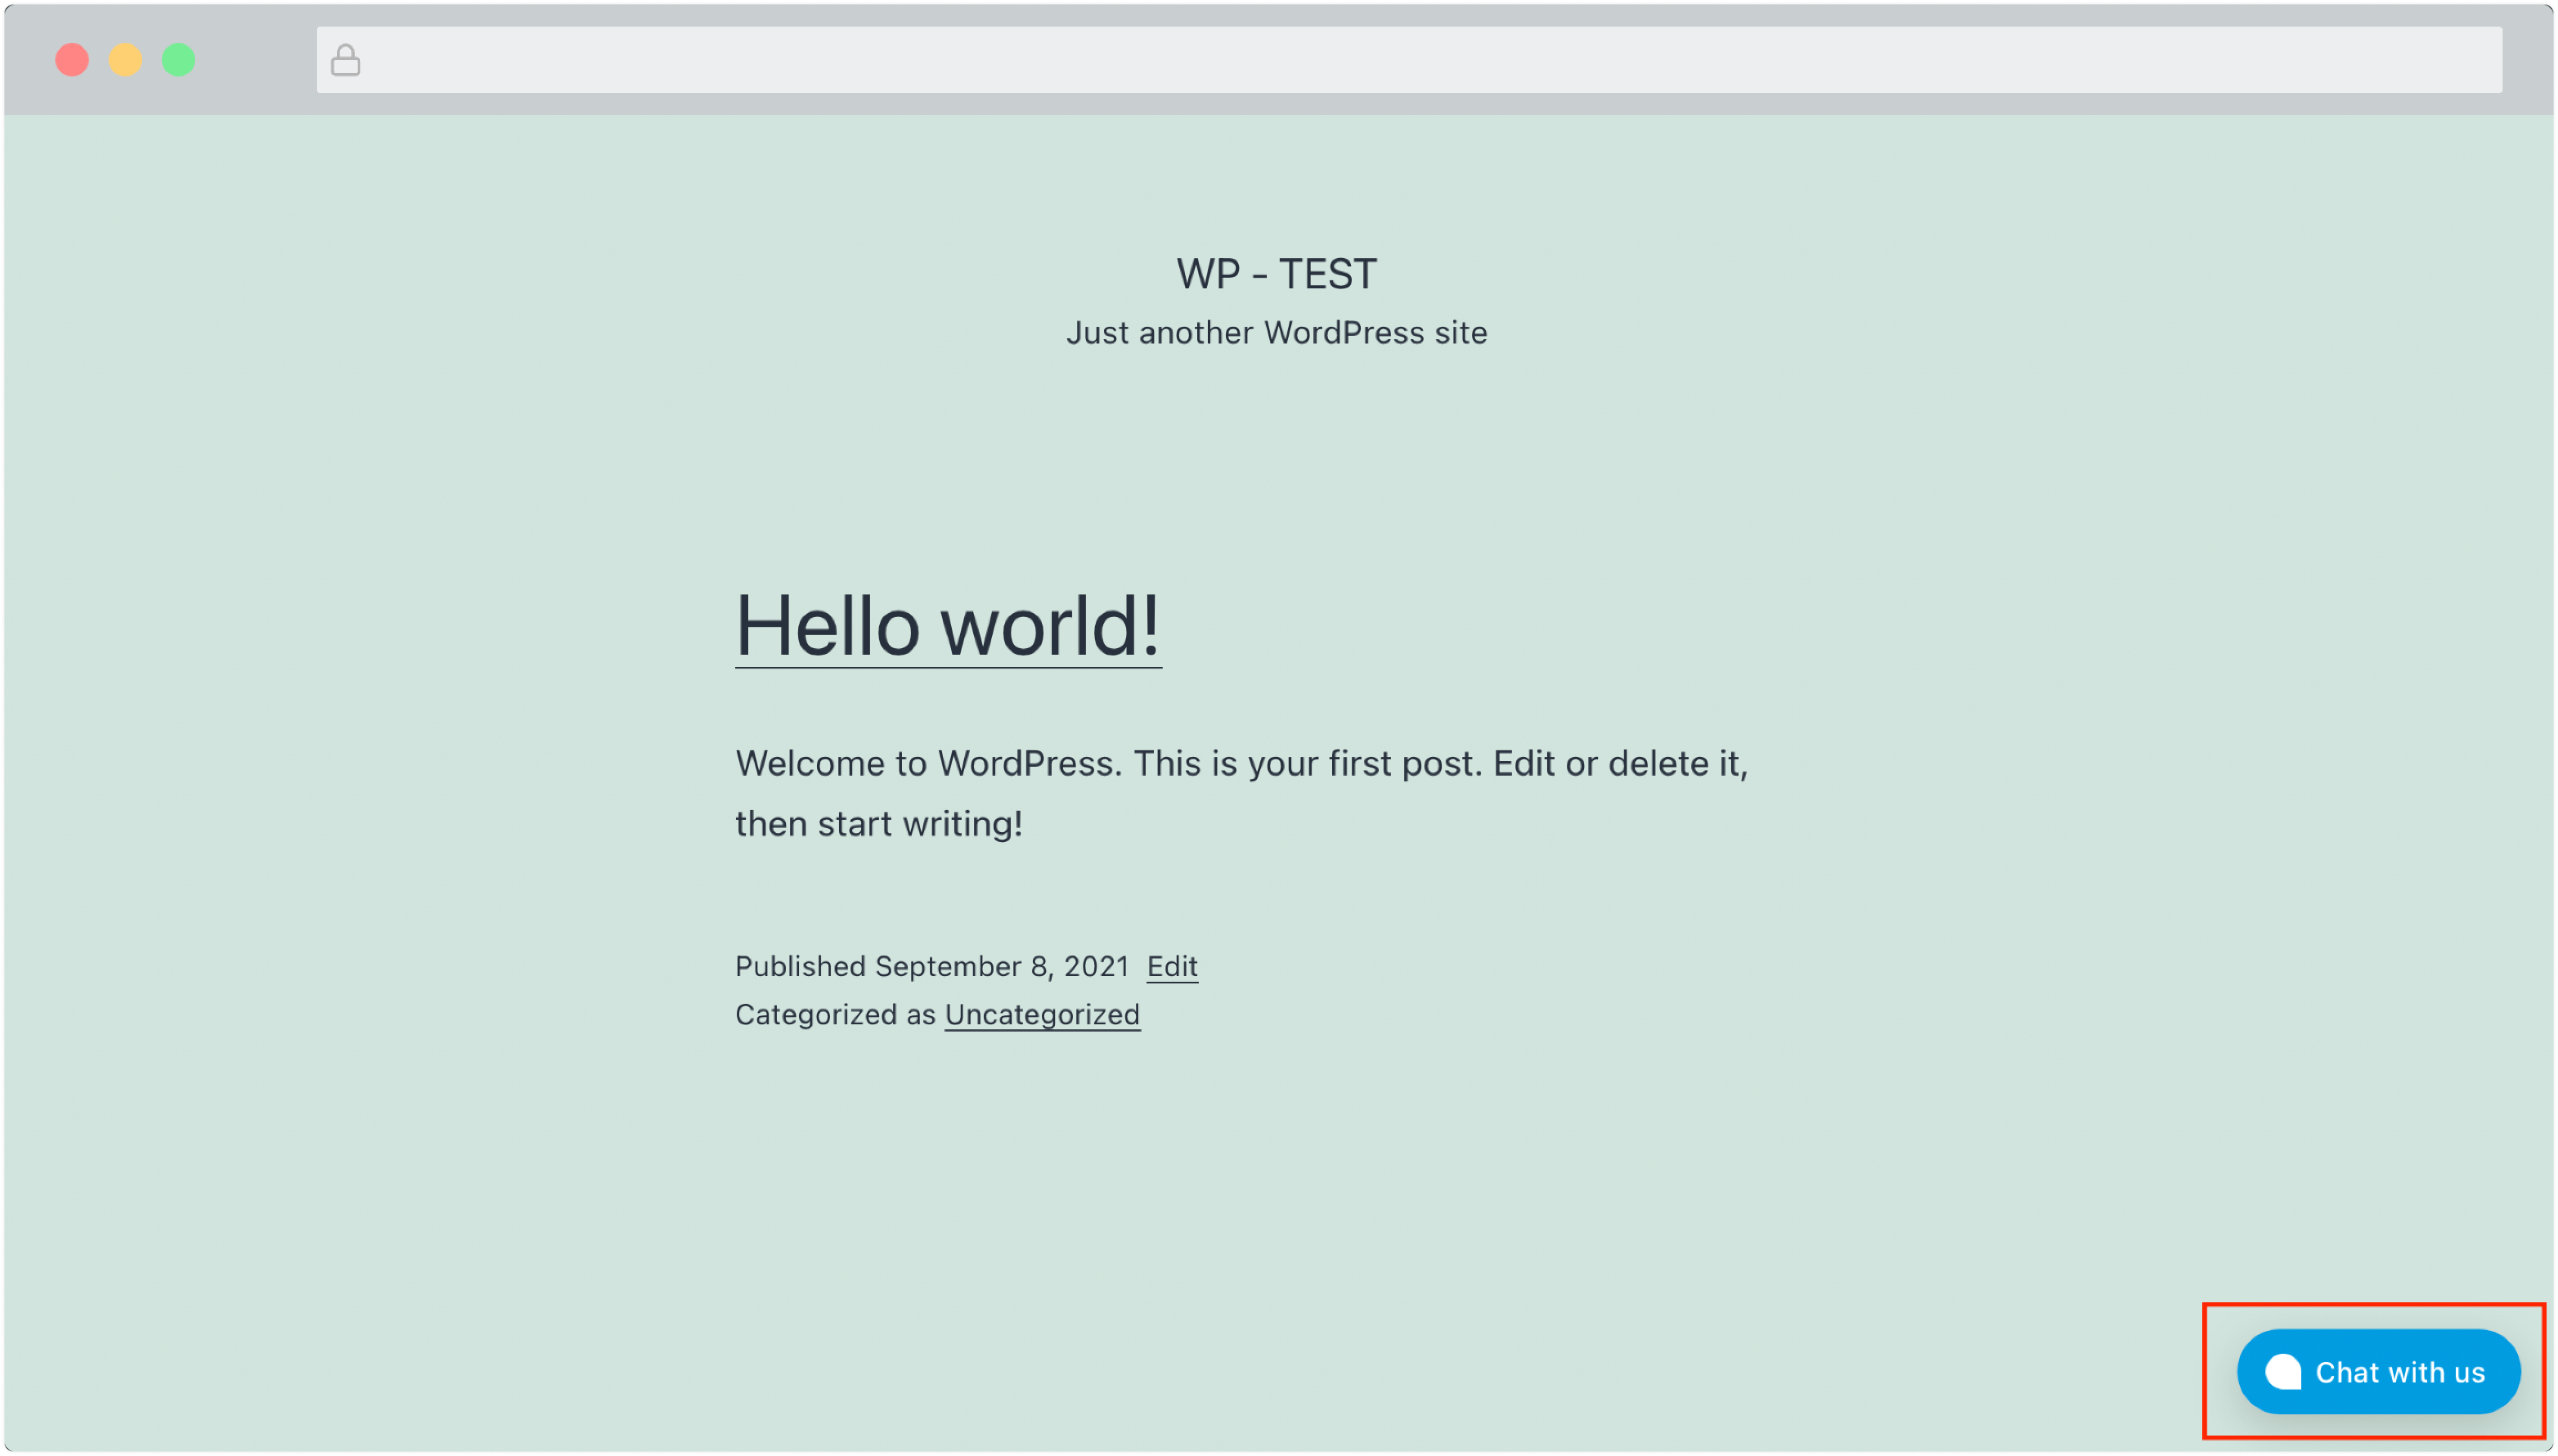
Step 5. Verify that the plugin is working correctly
Visit your website and see if the widget appears on the website!